
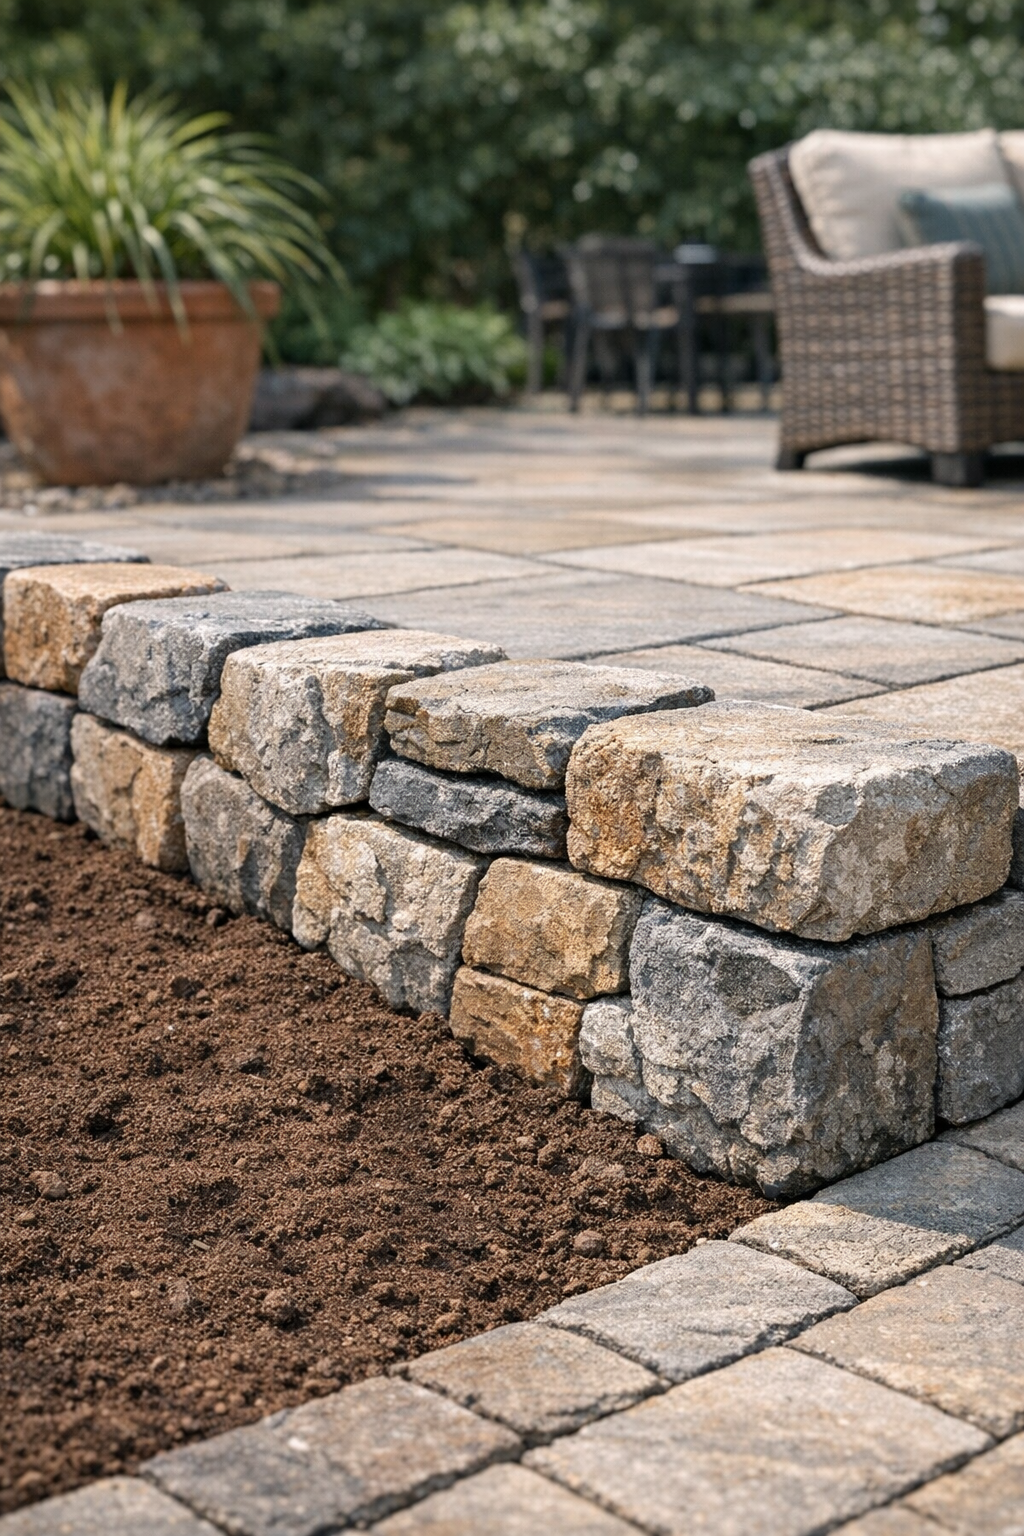
I’ve always had a soft spot for projects that turn castoffs into something sturdy and handsome, especially out here where we learn early not to waste what still has a little life left in it. This patio edging looks like chunky stone from a few steps back, but it starts with broken Styrofoam coolers and just two basic supplies. It’s a clever way to tidy up the edge of a patio or garden bed without hauling real rock or paying for premade landscape blocks.
If you’re comfortable with a little messy outdoor crafting and want a budget-friendly border that has a rustic, weighty look, this is a satisfying weekend project. I like this one for folks who enjoy upcycling and don’t mind taking their time with shaping and curing, because the payoff is a custom edging that looks far more expensive than it is.
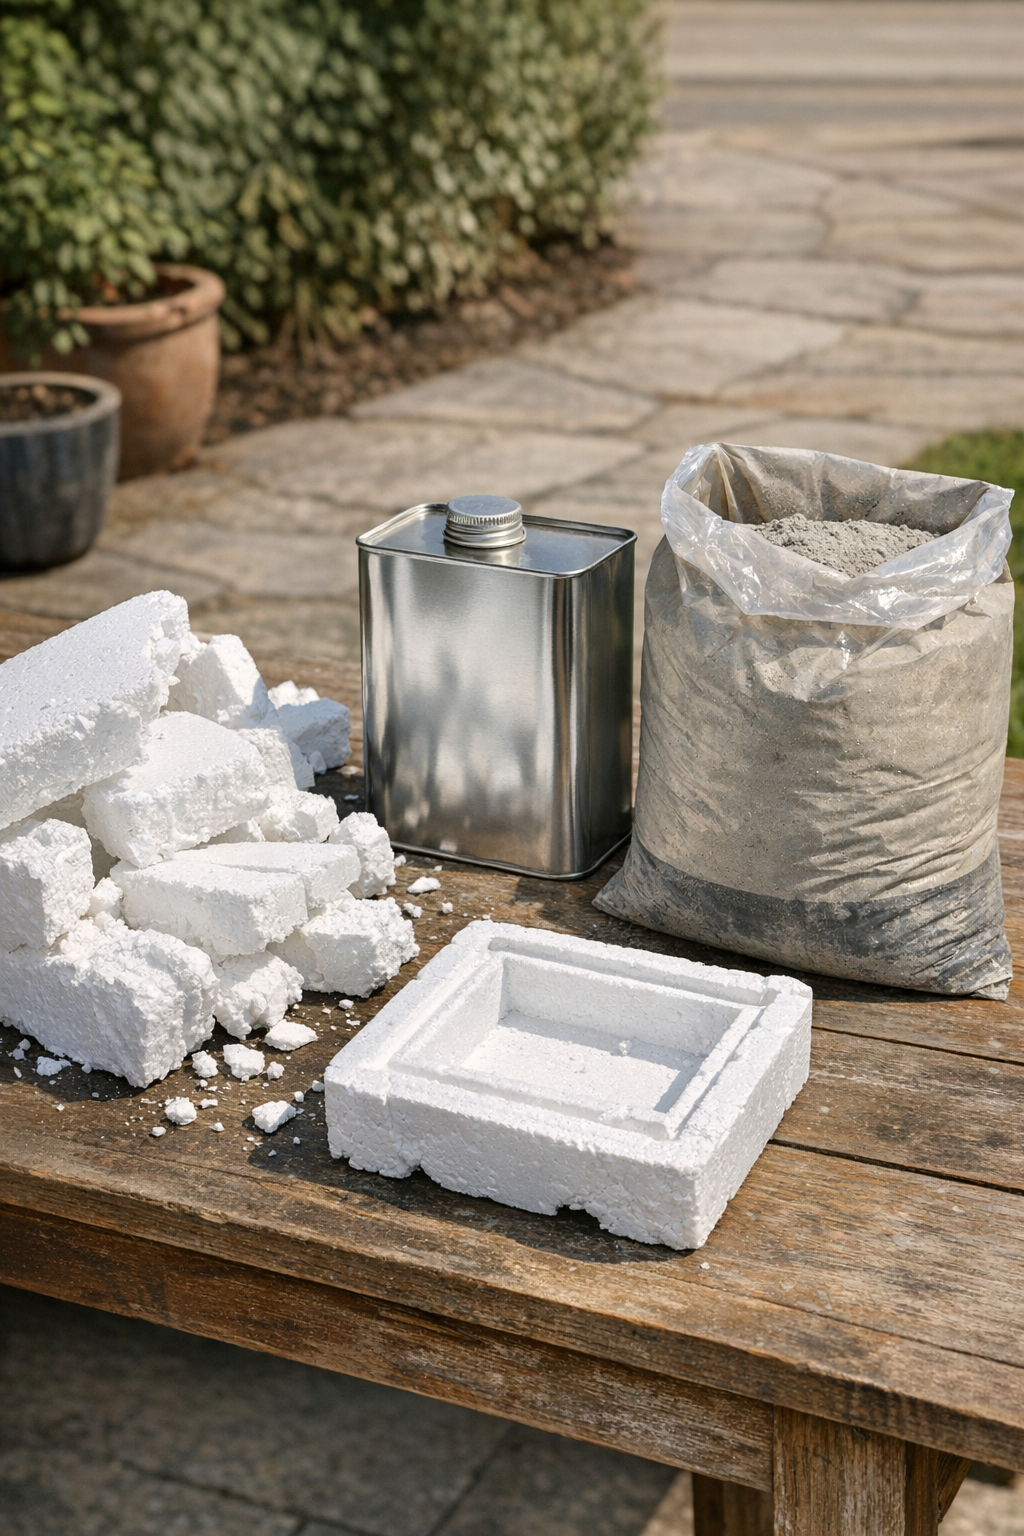
Materials
Instructions
1. Set up outdoors on a calm, dry day and choose a flat work surface near the patio edge where the pieces can cure undisturbed. Wear chemical-resistant gloves, eye protection, and a respirator rated for fumes before opening the acetone.
2. Break the Styrofoam coolers into small pieces about 2 to 4 inches wide so they dissolve more evenly. Keep the pile dry and free of dirt, tape, and food residue.
3. Pour about 2 inches of acetone into a metal bucket or metal bowl, then add the Styrofoam a handful at a time. Press it down gently as it melts into a thick, sticky mass.
4. Continue adding melted foam until you have a dense putty that holds its shape when scooped. If it seems soupy, add more Styrofoam; if it becomes too stiff to mix, add a small splash of acetone.
5. Sprinkle in dry cement a few cups at a time and knead or stir until the mixture looks uniformly gray and clay-like. Use roughly 8 to 10 cups of cement per large grapefruit-sized lump of melted foam mixture, adjusting until it feels firm enough to shape.
6. Scoop out portions and shape them by hand into irregular stone-like blocks about 8 to 12 inches long, 4 to 6 inches tall, and 3 to 4 inches thick. Flatten the bottoms so each piece will sit solidly along the patio edge.
7. Press, pinch, and rough up the surfaces to mimic natural stone, leaving a few ridges and shallow dents for character. Make several pieces in slightly different sizes so the finished border looks more natural.
8. Let the shaped pieces cure in a dry, shaded spot for 24 to 48 hours, turning them once if needed so all sides firm up. They should feel hard on the outside before you move them into place.
9. Clear the patio edge and scrape a shallow trench about 2 inches deep and as wide as your edging pieces. Pack the soil flat so the faux stones won’t wobble.
10. Set the pieces side by side in the trench, nudging them close together and checking that the tops follow the curve or line of the patio. Press soil firmly around the bases to lock them in place.
11. Leave the edging undisturbed for another 24 hours so everything settles and finishes hardening. After that, brush away loose dirt and enjoy the stone look.
Variations & Tips
For a more natural shape: Make a few longer and flatter pieces and a few shorter, chunkier ones. Real stone borders rarely match perfectly, and that little bit of variation is what makes the whole thing believable.
For tighter curves: Shape smaller blocks, around 6 to 8 inches long, so they can follow a rounded patio edge more easily without awkward gaps.
For a rougher stone texture: Crumple a piece of aluminum foil and press it lightly against the surface before curing. I’ve used that old trick in the past, and it gives a nice weathered look without much fuss.
To improve stability: Bury each piece about one-third of its height and tamp the soil well on both sides. In our Midwestern freeze-thaw weather, a deeper set piece tends to stay put better.
Work in small batches: Don’t melt all the foam at once. The mixture is easier to manage when you make enough for just two or three edging stones at a time.
Safety first: Acetone is very flammable and gives off strong fumes, so always work outdoors away from sparks, flames, or cigarettes. Keep children and pets well away until every piece is fully cured and the workspace is cleaned up.