
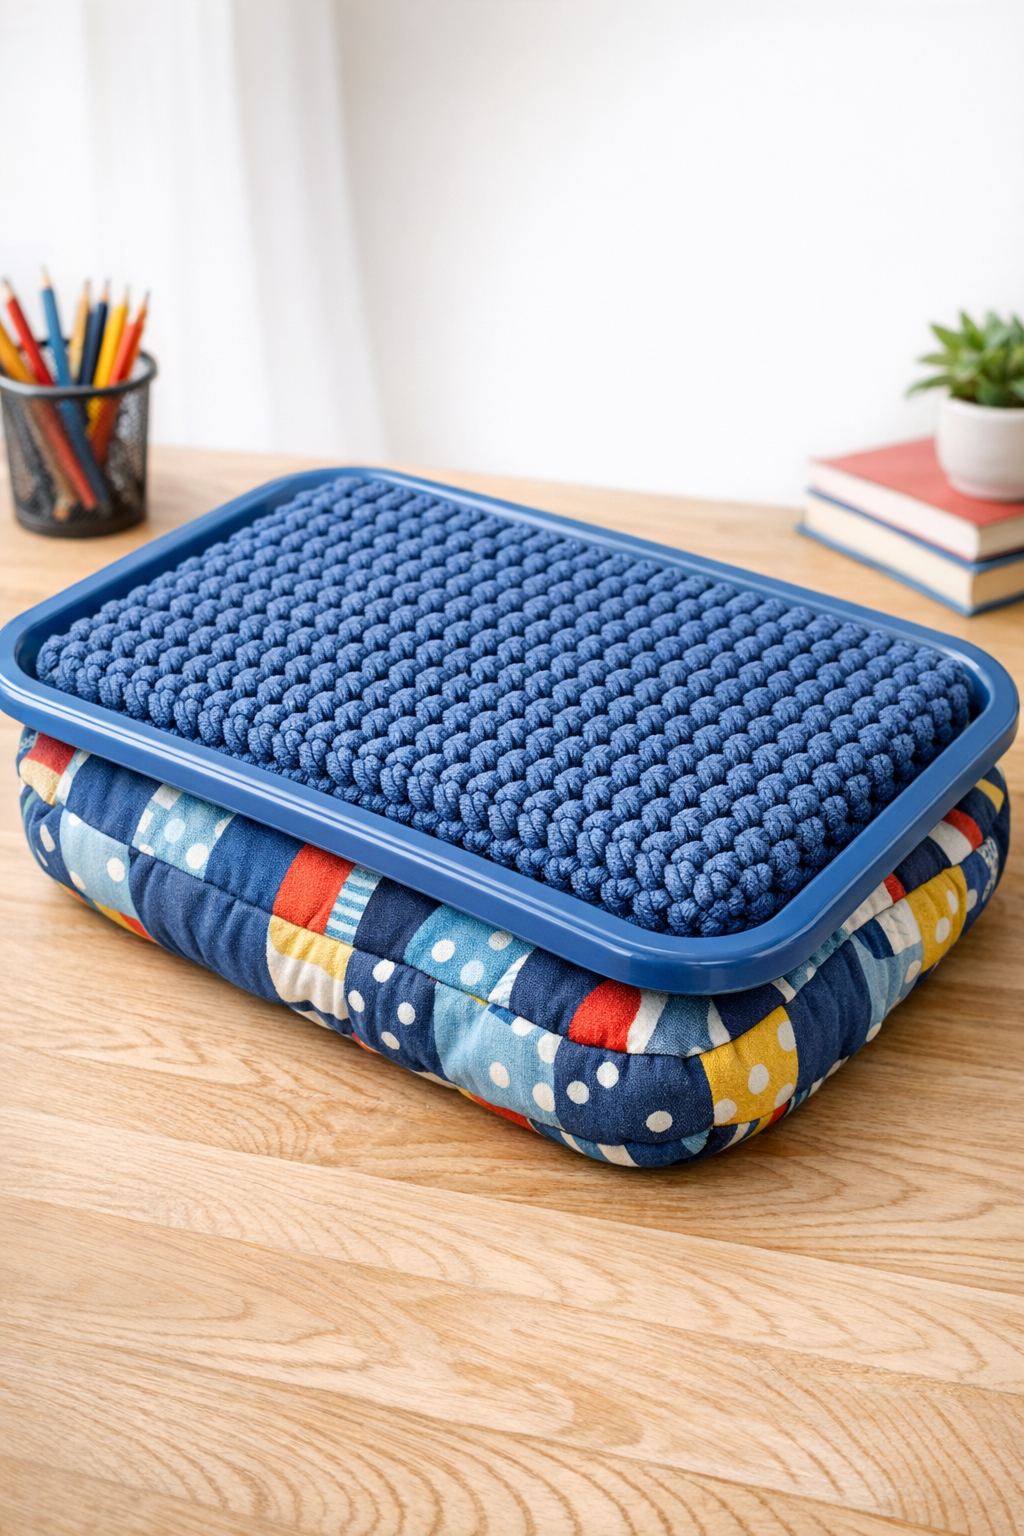
This project turns an ordinary plastic cafeteria tray into a sturdy, cozy lap desk with a crocheted top and a bean bag pillow underneath. I love this kind of DIY because it solves a real-life problem: kids need a stable place for homework, and adults honestly do too if you like working from the couch the way I sometimes do after a long day.
If you’re comfortable with basic crochet and simple sewing, this is very doable in an afternoon or weekend. The finished lap desk is lightweight, easy to wipe clean around the edges, and has that handmade look that feels a lot more special than anything store-bought.
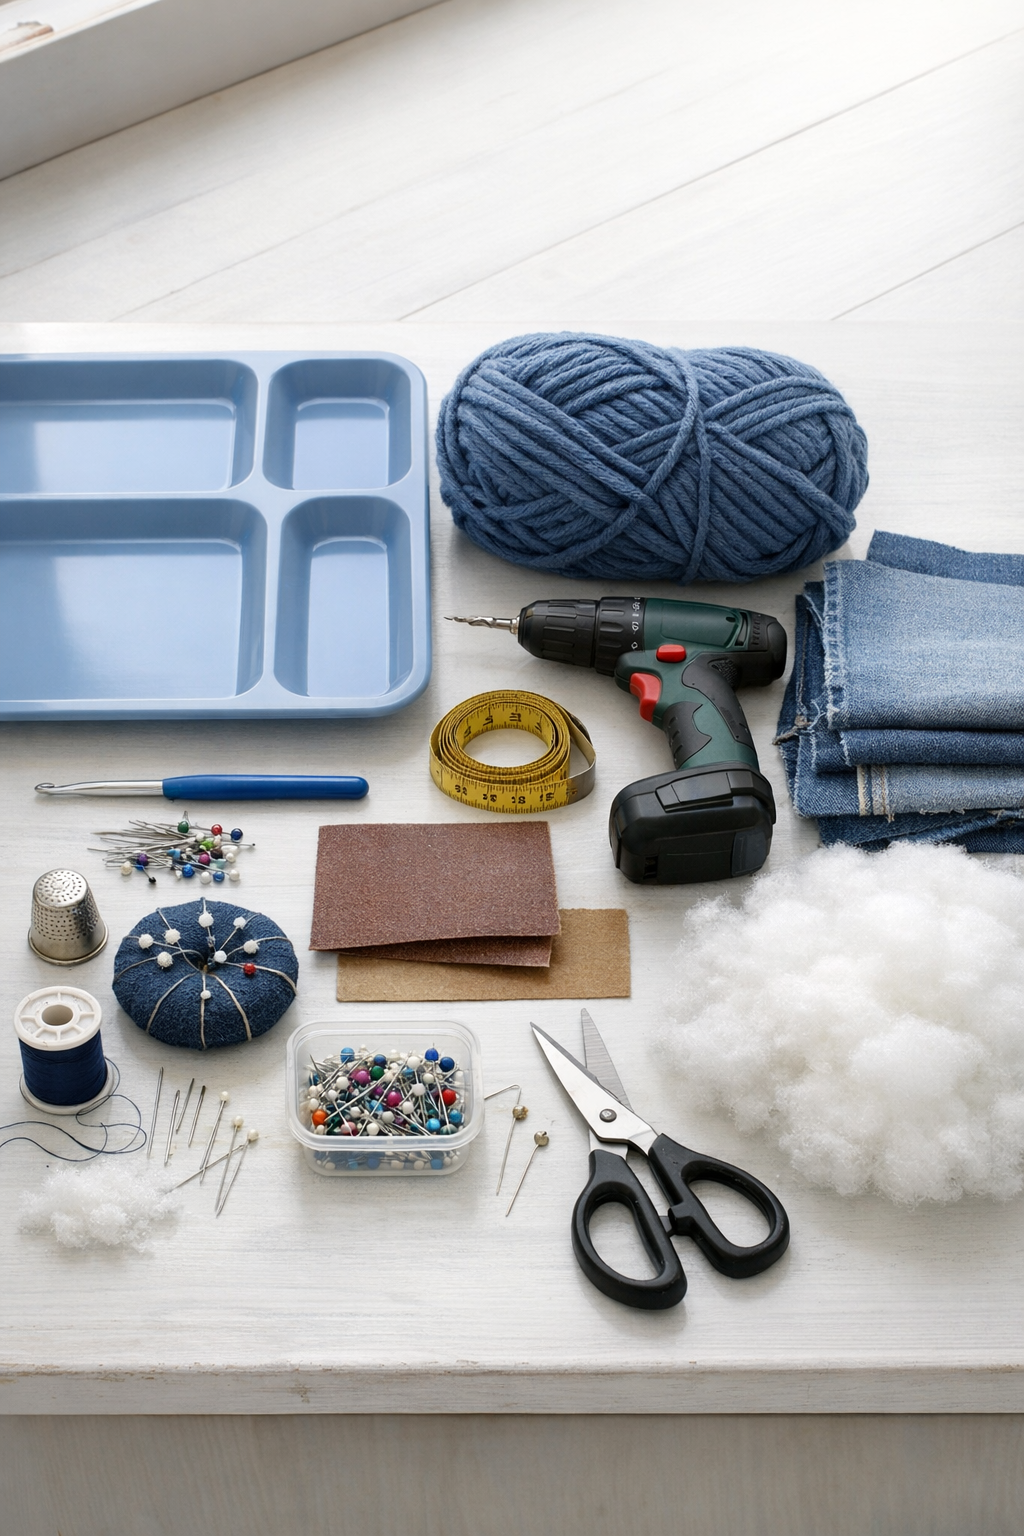
Materials
1 plastic cafeteria tray, approximately 17 x 12 inches, with a flat center and raised rim
Instructions
1. Wash and dry the tray, then mark evenly spaced drill holes around the inner flat section about 1/2 inch in from the raised rim. Space the marks about 3/4 inch apart so the crochet stitches have room without looking sparse.
2. Drill each marked hole carefully, then smooth both sides of every hole with fine-grit sandpaper so the yarn will not snag. Wipe away any plastic dust before moving on.
3. Join the yarn through one hole and work a round of single crochet by inserting the hook through each drilled hole and making one stitch per hole. Keep the tension relaxed so the tray stays flat.
4. Continue crocheting inward in even rounds using single crochet until the flat center of the tray is fully covered. Stop when the stitches sit snugly inside the tray without buckling.
5. Fasten off the yarn, weave in the end with a yarn needle, and press the crocheted surface flat with your hands. Check that the tray still feels sturdy and that no holes have rough edges.
6. Sew the pillow pieces together with the right sides facing, attaching the side panels to form a shallow rectangular cushion that matches the tray shape. Leave a 4-inch opening on one side for filling.
7. Turn the pillow right side out and fill it with bean bag beads or lightweight filler until it feels soft but supportive. Hand-sew or machine-stitch the opening closed securely.
8. Center the finished pillow on the underside of the tray and stitch it in place by hand at the four corners and the middle of each side. Make several strong passes through the fabric only around the tray edge area so the attachment holds up to daily use.
9. Test the lap desk on your knees or on a child’s lap, and adjust the pillow filling if needed for comfort and balance. Trim any loose threads and give the tray a final wipe-down.
Variations & Tips
Use a different fabric: I like denim or sturdy cotton for the pillow because it wears well, but canvas or twill also works nicely if that’s what you already have at home.
Swap the filler: Bean bag beads make the desk mold really well to your lap, but polyester fiberfill gives a softer cushion if you’re making this for younger kids.
Keep the crochet simple: Single crochet is the easiest choice here and gives the firmest surface, which is helpful for writing and coloring.
Check hole spacing first: Before drilling the whole tray, test two or three holes on one side with your yarn and hook. I’ve learned the hard way that a quick test saves a lot of frustration later.
Make it study-friendly: If you want a little more grip for notebooks, use a textured stitch for the last couple of rounds, but keep it low and even so the writing surface stays practical.
Prep for busy weekdays: This is a great weekend project to finish before the school week starts, and once it’s done, it’s one of those surprisingly useful things that gets used constantly for homework, reading, and even quick dinners in front of a movie.