
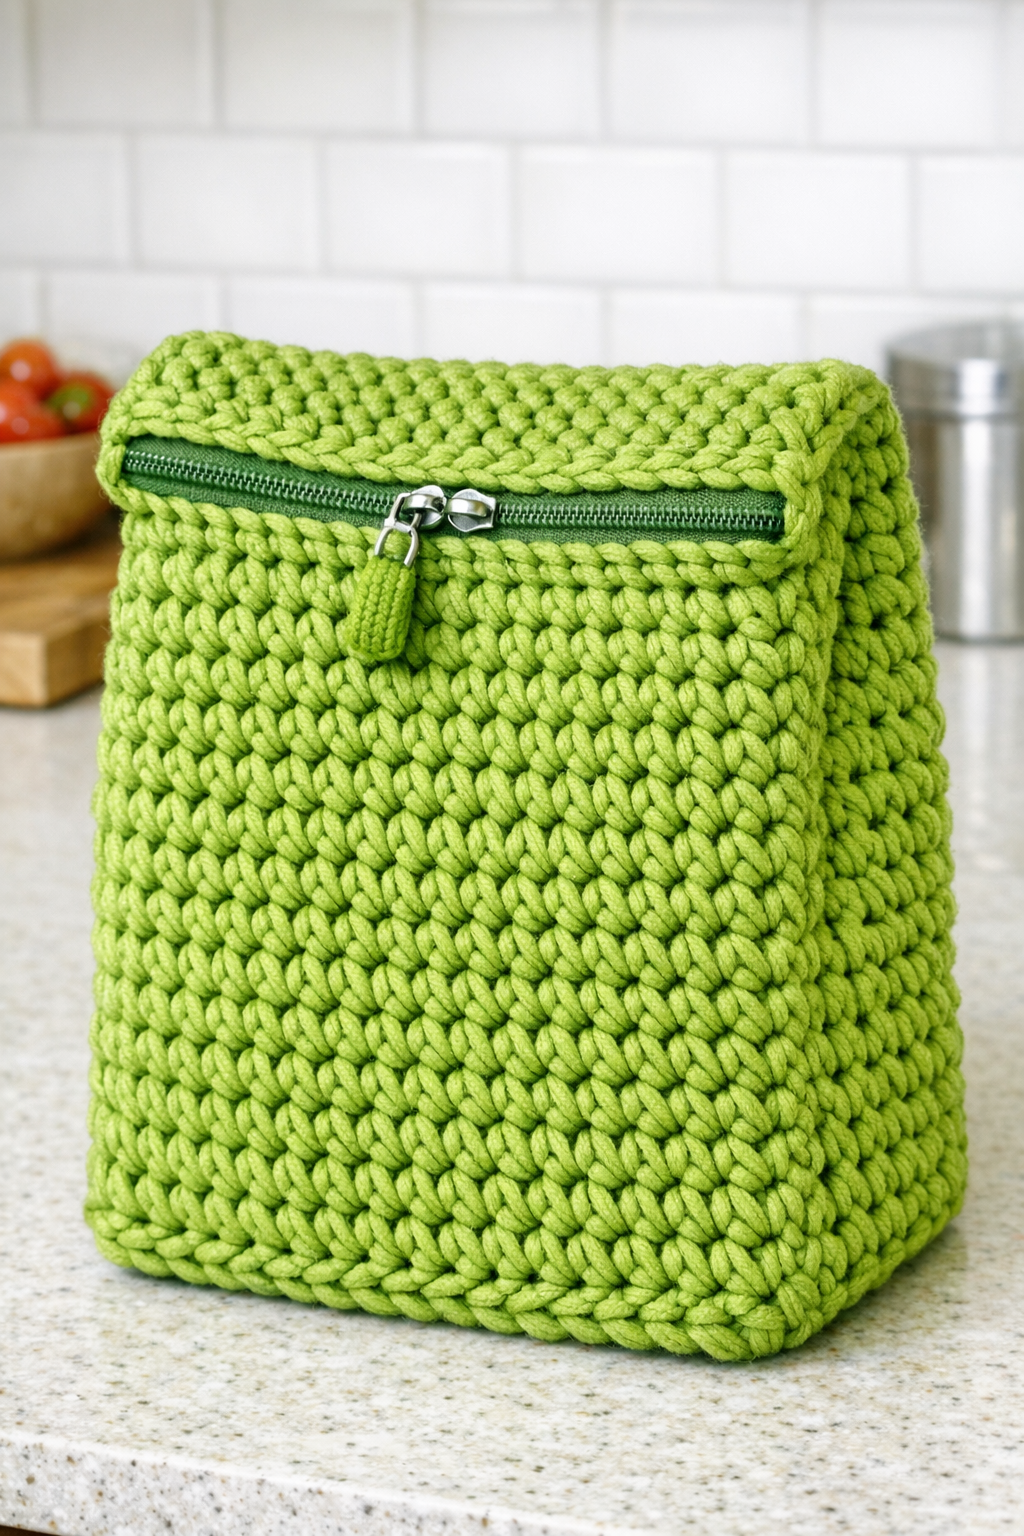
I love a project that turns something overlooked into something genuinely useful, and this lunch bag does exactly that. In this tutorial, I’m repurposing an old plastic grocery bag dispenser from the kitchen and crocheting around it with chunky apple green yarn to create a sturdy, cheerful back-to-school lunch bag with a zipper sewn neatly across the top.
If you already know basic crochet stitches and can sew on a zipper, this is a very manageable afternoon project. The dispenser gives the bag its structure, the chunky yarn softens the look and feel, and the finished piece is roomy enough for a sandwich container, fruit, and a cold pack. As someone who spends a lot of time thinking about texture and function in the kitchen, I appreciate how this project blends practicality with a little resourceful charm.
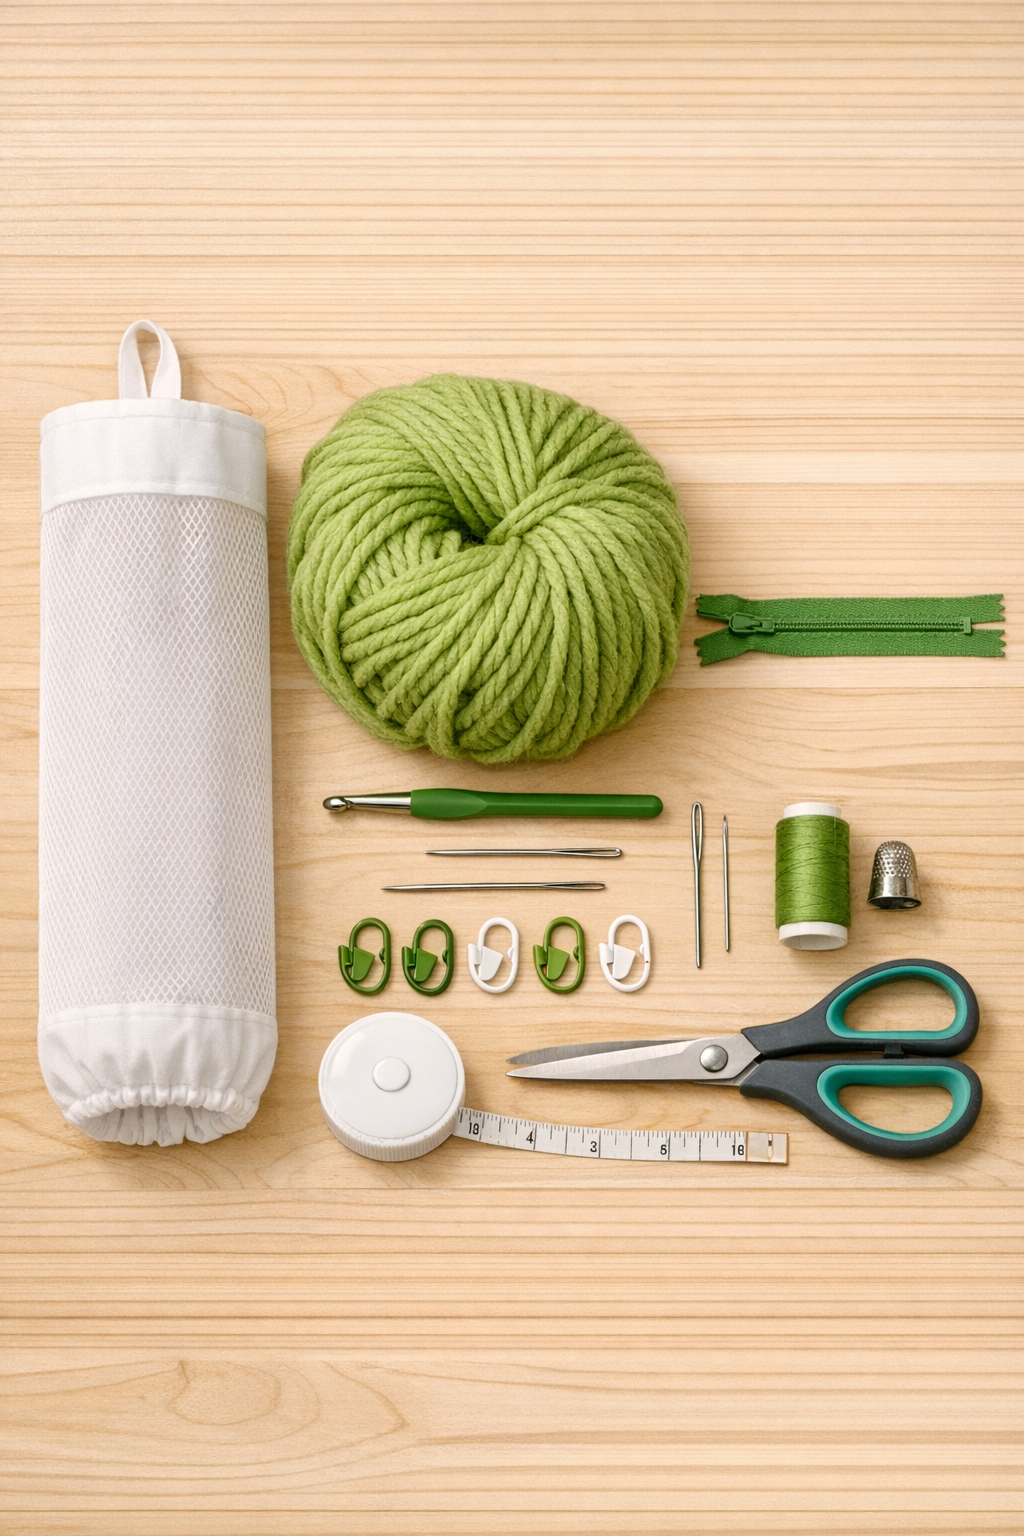
Materials
1 old plastic grocery bag dispenser, approximately 18 to 20 inches long and 6 to 7 inches wide when laid flat
Instructions
1. Wash and dry the old grocery bag dispenser if needed, then trim away any torn loops, hooks, or hanging hardware so you’re left with a clean tube-shaped base.
2. Measure the dispenser’s length and width laid flat, and mark the top opening edges where the zipper will be sewn later so you keep that area even while crocheting.
3. Make a slip knot with the chunky apple green yarn and begin by inserting your hook through an open section of the dispenser near the bottom edge, anchoring the yarn with a single crochet around the material.
4. Work single crochet stitches evenly all the way around the bottom opening, placing one stitch every 1/2 inch and adding 3 extra stitches spaced evenly to help the base lie flat.
5. Join the round with a slip stitch, then crochet continuous rounds of single crochet through the dispenser openings and around its outer surface, spacing stitches as evenly as possible to fully cover the base material.
6. Keep crocheting upward until the body is fully covered, gently stretching and smoothing the dispenser as you go so the stitches stay snug but not distorted.
7. At the top opening, work one final even round of single crochet to create a firm edge, then fasten off leaving a 24-inch yarn tail for reinforcement if needed.
8. Thread the yarn needle with the tail and weave it through the top round to tighten any gaps, especially near the side edges where the zipper ends will sit.
9. Pin or clip the 14-inch zipper along the top opening, centering it so the teeth sit just inside the crocheted edge and the zipper tape overlaps the dispenser fabric evenly on both sides.
10. Sew the zipper in place by hand with small backstitches, catching the zipper tape, the top edge of the dispenser, and the crochet edge together for a strong seam.
11. Fold the zipper ends inward neatly and tack them down with a few extra stitches so the opening looks clean and won’t scratch little hands reaching in for lunch.
12. Test the zipper several times, then shape the bag with your hands and check that it stands evenly and opens wide enough for a lunch container.
Variations & Tips
Add a lining: If you want easier cleanup, hand-sew a simple wipeable lining from 1/4 yard of insulated lunch bag fabric or laminated cotton before attaching the zipper.
Use tighter stitches: If the dispenser shows through more than you like, go down to a 7.0 mm hook and crochet a little more tightly for fuller coverage.
Choose the right dispenser: Mesh and thin fabric dispensers are easiest to crochet through; very stiff plastic styles can crack or make stitch placement awkward.
Make it kid-specific: Swap the apple green yarn for school colors, or stitch a small crocheted initial onto the front after the bag is finished.
Reinforce stress points: I always add a few extra stitches at both zipper ends because that’s where daily wear tends to show up first, much like the corners on a well-used apron pocket.
Keep the size practical: Before sewing in the zipper, slip in the lunch container you plan to use most often; it’s a simple kitchen-minded habit that prevents making a bag that looks cute but doesn’t fit the food.