
This outdoor lantern post is one of those simple backyard projects that looks far more expensive than it really is. I love a project like that, especially when it uses basic garden-center supplies and a solar light instead of any wiring. By stacking painted terracotta pots over a solar lamp stake, you can make a charming lantern-style accent for a walkway, flower bed, patio corner, or even near the mailbox.
As a mom who likes our outdoor spaces to feel just as welcoming as the kitchen table, I’m always drawn to projects that add a warm glow without adding one more chore. This one is beginner-friendly, affordable, and easy to customize with paint colors that match your porch, planters, or outdoor cushions. If you want a pretty backyard feature you can finish in an afternoon, this is a wonderful place to start.
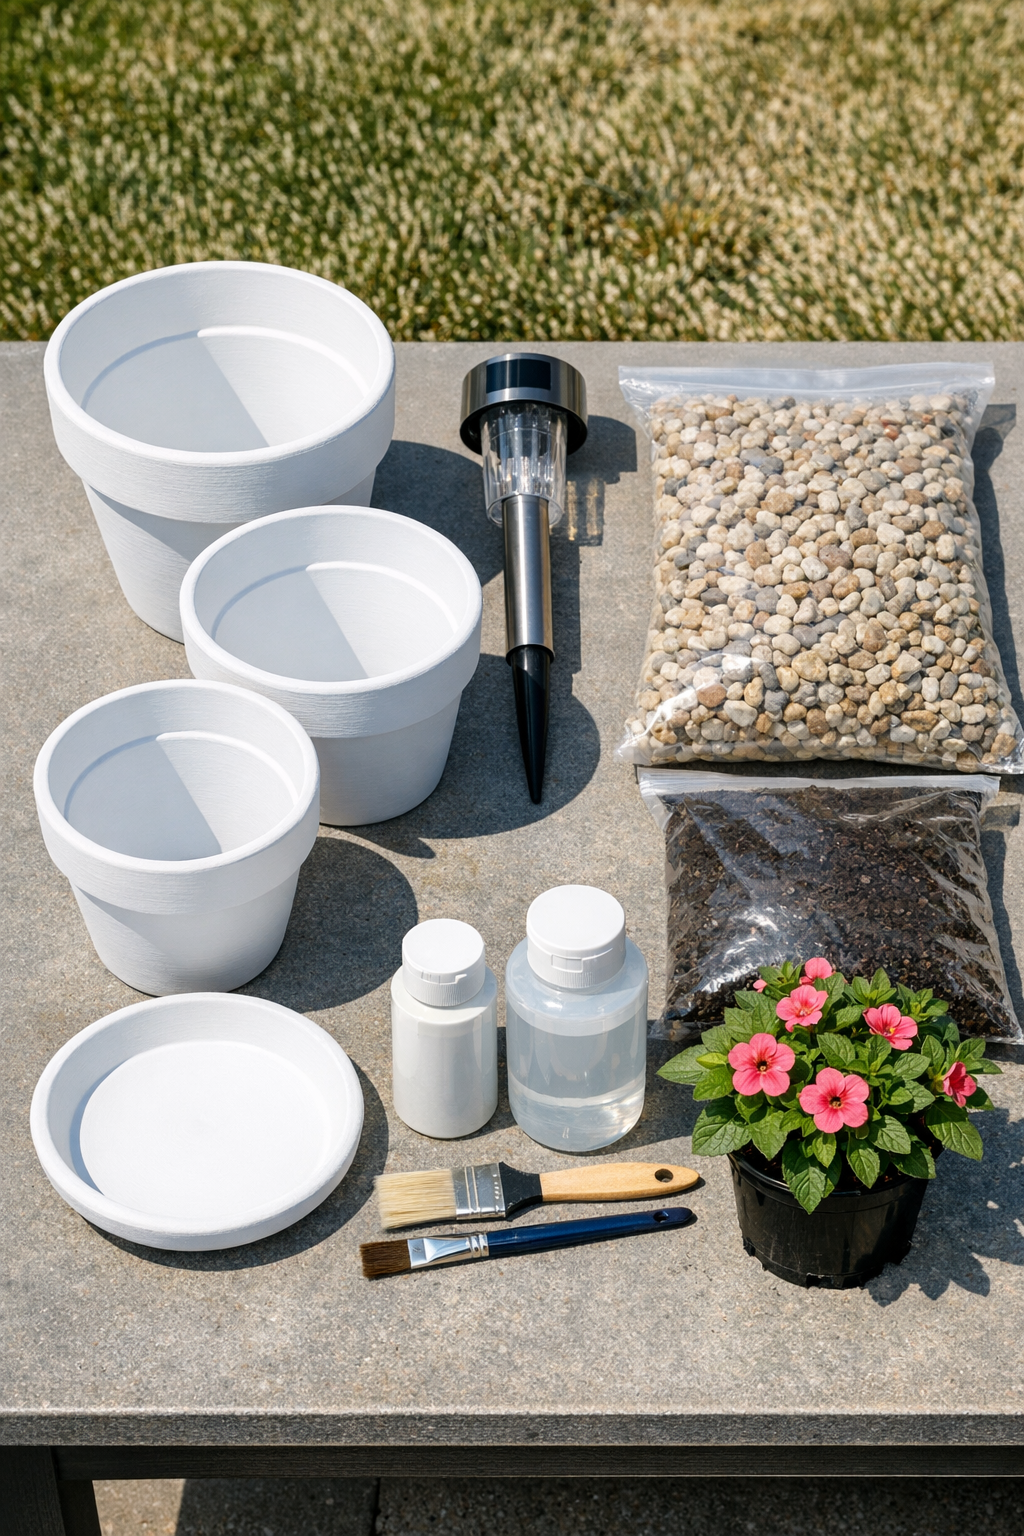
Materials
1 solar stake light, approximately 30 to 36 inches tall including ground spike
Instructions
1. Wipe all the terracotta pots and saucer with a clean rag to remove dust, then lightly sand any rough spots so the paint goes on evenly.
2. Apply a base coat of exterior acrylic paint to the outside of each pot and the saucer, then let them dry completely before adding a second coat if needed.
3. Add stripes, a rim color, stenciled details, or a lightly distressed finish with the accent paint, keeping the design simple so the stacked shape stays the star.
4. Seal the painted pots and saucer with a clear outdoor sealer, then allow them to cure fully according to the product directions before assembling.
5. Choose a flat outdoor spot that gets several hours of sun each day, and press the solar lamp stake firmly into the ground so it stands straight.
6. Turn the largest pot upside down and slide it carefully over the solar stake so the light rises through the drainage hole area and the pot forms the base of the post.
7. Add a little pea gravel around the base inside or around the pot opening as needed to steady it, and use shims or flat stones underneath if the ground is uneven.
8. Slide the medium pot over the stake next, positioning it upside down on top of the large pot so the stack looks balanced and centered.
9. Slide the smallest pot over the stake as the top tier, and if you want a permanent piece, add a thin bead of exterior construction adhesive where each pot touches before setting it in place.
10. Set the terracotta saucer on the very top like a little roof, centered around the solar light head or just beneath it depending on your lamp style.
11. Fill the top opening or the saucer area with potting soil if your design allows, then tuck in a small flowering or trailing plant for a soft, finished look.
12. Step back and straighten the stack, clean away any extra soil or gravel, and let the solar light charge in full sun before enjoying it at dusk.
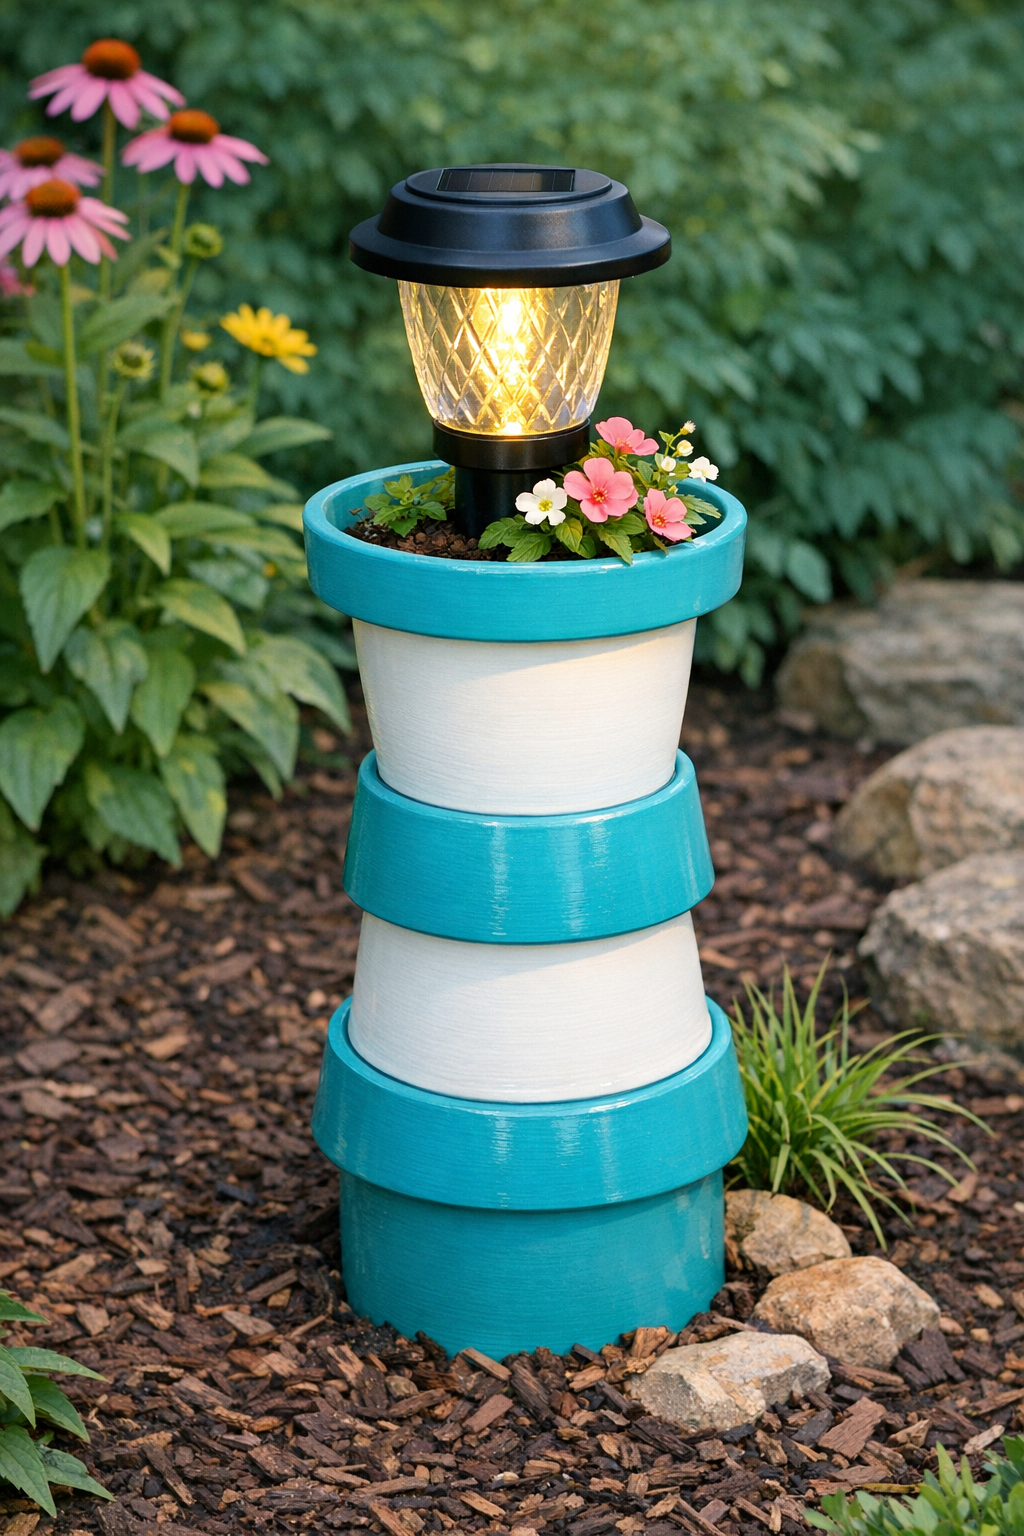
Variations & Tips
Color palette idea: For a classic look, I like white or black with a lightly dry-brushed finish, but cheerful blue, sage green, or soft yellow can make the whole yard feel more playful.
For picky decorators: If your family can never agree on one style, keep the pots a neutral color and change only the plant on top with the season so everyone gets a version they enjoy.
Plant choice: Small trailing plants like sweet alyssum, ivy, or creeping jenny soften the edges nicely, while compact blooms like petunias or calibrachoa give you more color.
Extra stability: In windy areas, use construction adhesive between each layer and add more gravel in the base pot so the finished post feels heavier and sturdier.
No-plant version: If you want a cleaner lantern look, skip the soil and plant entirely and use the saucer strictly as a decorative top piece.
Weather tip: Reapply a clear outdoor sealer every season or two to help protect the paint, especially if your lantern post sits in strong sun or driving rain.
Placement tip: These look especially pretty in pairs flanking a path or garden gate, and I’ve found that grouping two at different heights makes a small patio corner feel thoughtfully finished.