
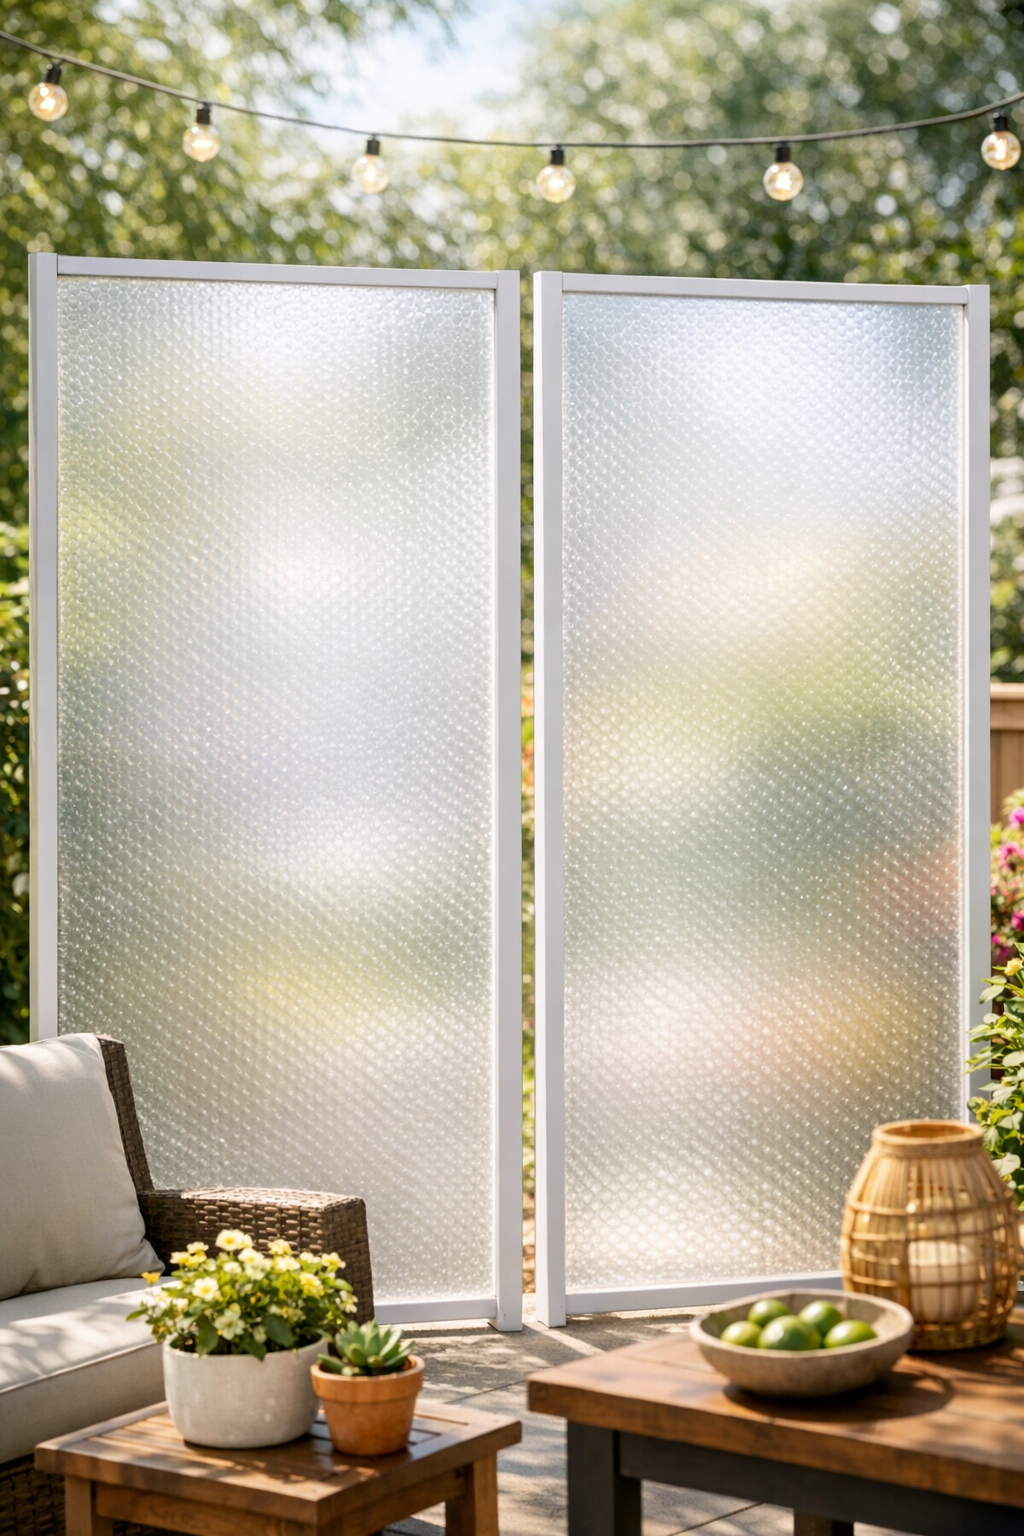
If you want a little more privacy on a patio without buying specialty window film or custom panels, this is the kind of quick home project I love to pull together in an afternoon. These faux frosted patio panels use popped bubble wrap and parchment paper to create a soft, cloudy layer that diffuses light beautifully, and the finished look is surprisingly polished for something made from such simple materials.
I’m especially fond of projects like this before a holiday weekend, because they make an outdoor space feel more intentional without a big expense. If you’re hosting for Labor Day, or you just want to make a porch, patio, or balcony feel cozier, this is an easy DIY that beginners can handle with very little prep.
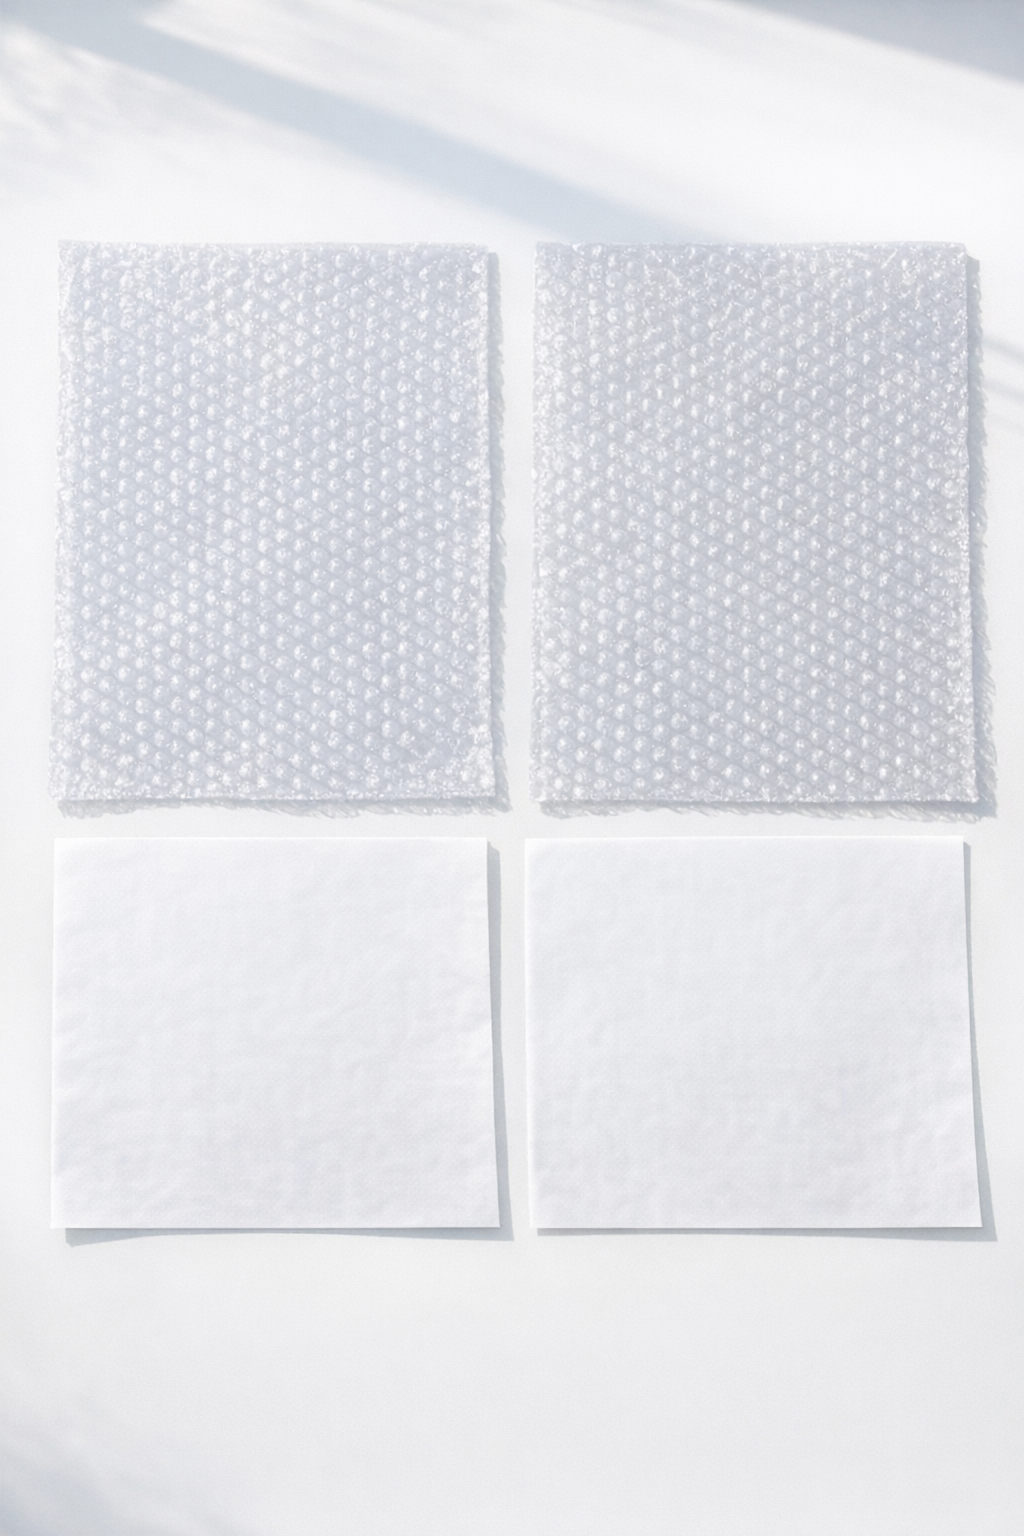
Materials
Instructions
1. Cut two sheets of popped bubble wrap to the size you want for your patio panels; 24 x 36 inches is a practical starter size for testing the look. Cut two matching sheets of parchment paper to the same dimensions.
2. Wipe your work surface clean and lay down one sheet of parchment paper. Place one sheet of popped bubble wrap on top, smoothing it flat with your hands.
3. Cover the bubble wrap with the second sheet of parchment paper to make a sandwich. Make sure all plastic is fully covered so it does not touch the iron.
4. Heat an iron to a low setting with steam turned off, then press lightly over the parchment in short passes. Move steadily and check every 5 to 10 seconds until the bubble wrap softens and bonds into a more solid, frosted-looking sheet.
5. Let the panel cool for 1 minute, then peel back the top parchment paper and check the texture. If you want a more even frosted effect, replace the parchment and iron again in a few quick passes.
6. Repeat the same process for the second panel, keeping the size and ironing time as consistent as possible. Matching panels always look more finished, especially outdoors where the light hits them side by side.
7. Once both panels are fully cool, trim any uneven edges with scissors or a craft knife. Test them against your patio railing, screen section, or window area to make sure the scale and opacity work for your space.
8. Install or display the panels in your chosen spot using the mounting method that fits your patio setup. Place them where they will soften the view and filter light without blocking airflow.
Variations & Tips
For a denser frosted look: Iron a little longer in very short intervals instead of holding the iron in one place. I always go slowly here, because plastic changes fast once it gets warm.
For smaller spaces: Try making narrow vertical panels instead of large rectangles. These work nicely beside a seating nook or near a patio dining corner where you want privacy but still want light coming through.
For picky decorators: If your family members all have different opinions like mine usually do, test one small sample first. Some people prefer a more bubbly texture, while others like it more smooth and evenly frosted.
To keep edges neat: Trim after cooling, not while the plastic is still warm. Cool plastic cuts cleaner and is less likely to stretch or snag.
Iron safety: Always keep parchment fully covering the plastic and use a low heat setting with no steam. Good ventilation and short test passes make this project much easier to control.
Before making a full set: Hold your finished sample panel up in sunlight to check privacy and brightness. That little extra test can save you time and help you decide exactly how many panels your patio needs.