
If you need a simple way to hold down a tarp, brace a garden row cover, chock lightweight outdoor items, or create sturdy slanted wedges for the yard, this is one of those delightfully practical projects that costs very little and uses easy-to-find supplies. The basic idea is to use cheap plastic dustpans as molds for thick cement, which gives you dense, angled blocks with a built-in slant that’s surprisingly useful outdoors.
I love projects like this because they sit right at the intersection of frugal and functional. As someone who spends a lot of time in the kitchen, I appreciate a good mold-and-set process, and cement behaves a lot like a stubborn batter: the setup matters, the consistency matters, and patience pays off. This project is ideal for anyone who wants durable yard wedges without buying specialty landscaping weights or chocks.
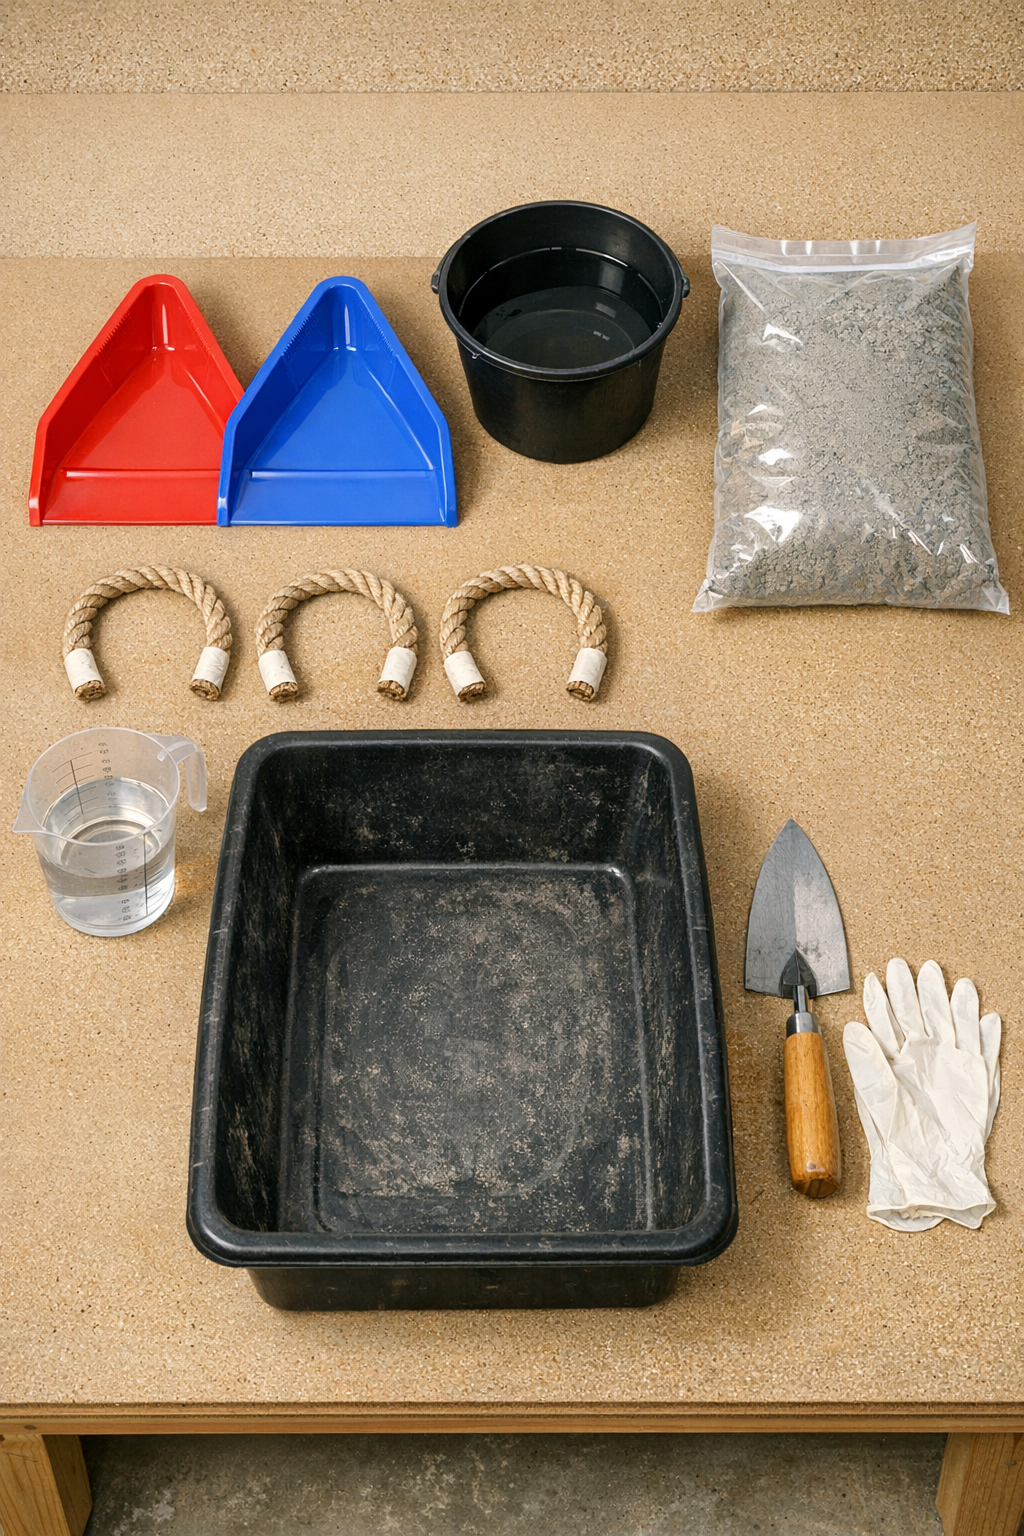
Materials
3 plastic dustpans, standard size about 10 to 12 inches wide
Instructions
1. Set the dustpans on a flat, protected work surface and check that each one sits evenly without tipping. If the handles wobble, prop them lightly with scrap wood or folded cardboard so the pan stays level side to side.
2. Lightly coat the inside of each dustpan with a thin film of cooking oil or mold release. This helps the hardened cement release more cleanly once cured.
3. Tie each 8-inch piece of rope into a loop and set them aside for handles. These loops will be embedded into the cement so you can lift and move the wedges later.
4. Mix the cement in a bucket or tub, adding water a little at a time until it reaches a thick, scoopable consistency similar to stiff mashed potatoes. It should hold its shape on the trowel, not pour like soup.
5. Fill each dustpan about three-quarters full with the thick cement mix, pressing it firmly into the corners to remove air pockets. Smooth the top roughly with the trowel, but do not overwork it.
6. Press one rope loop into the back half of each dustpan, leaving enough of the loop exposed to act as a handle. Push the rope ends down into the cement and cover them slightly so they lock in place.
7. Tap the sides of the dustpans gently and shake them just a little to settle the mix. Re-smooth the top surface if needed after the cement settles.
8. Let the wedges cure undisturbed for at least 24 hours, or according to the cement package directions if it recommends longer. Keep them in a dry area out of heavy sun or rain while they harden.
9. Flex the plastic dustpans gently to release the cured cement wedges. If a pan clings a bit, tap the outside lightly and peel the plastic away slowly rather than forcing the cement block.
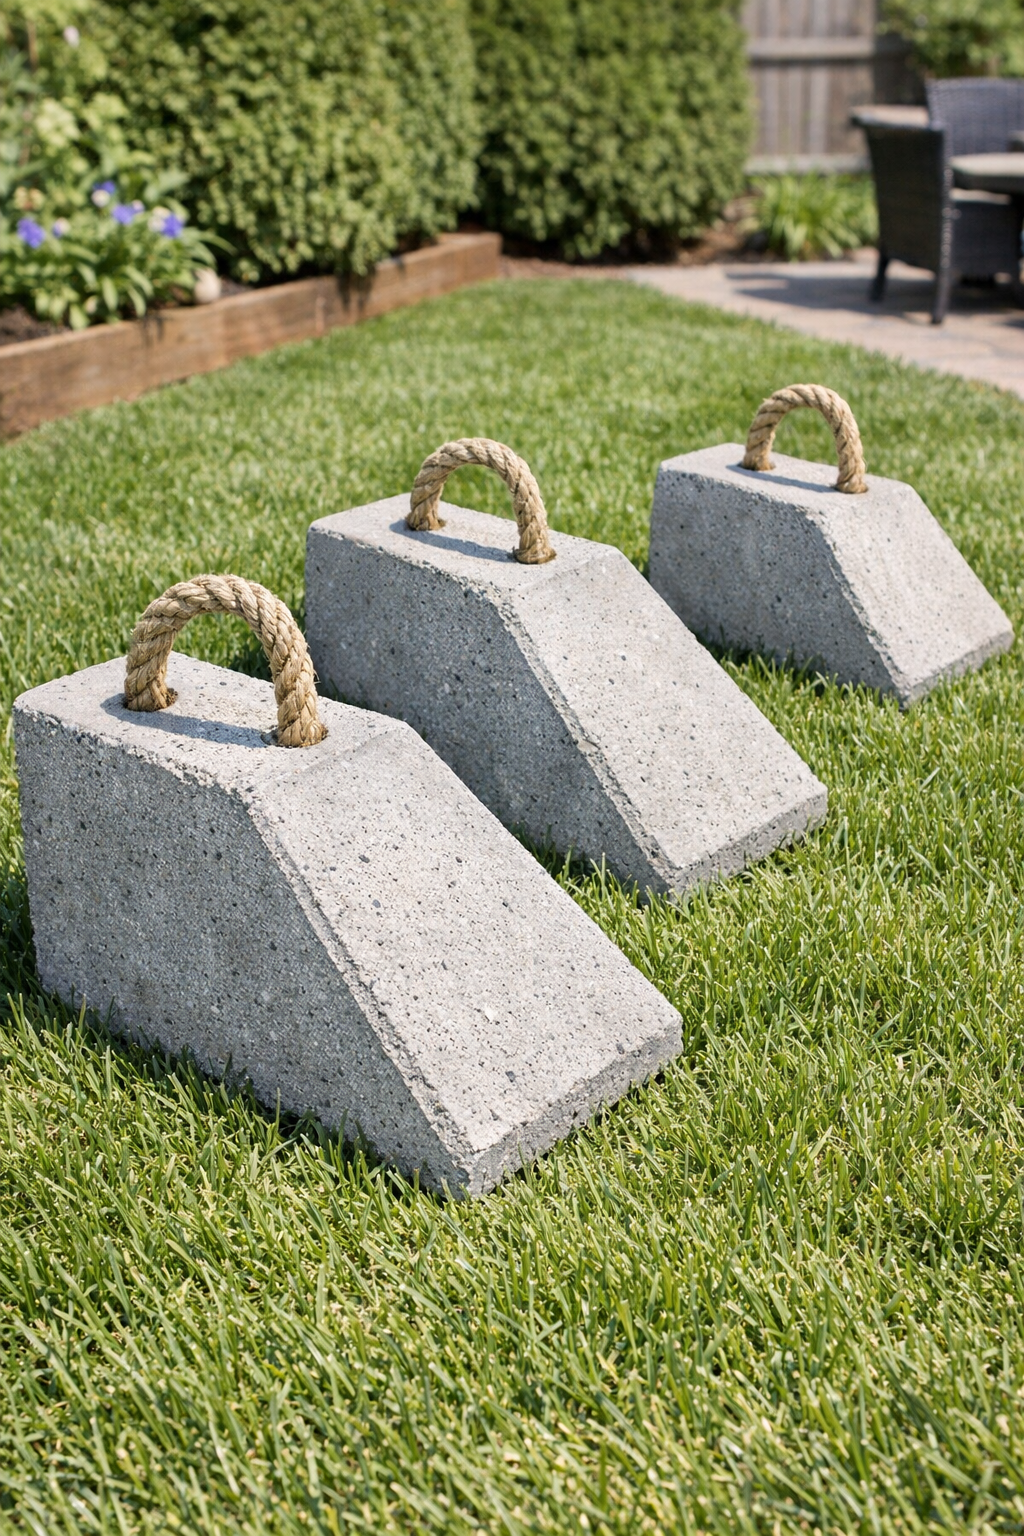
10. Set the wedges aside for another 24 to 48 hours to continue hardening before heavy outdoor use. Once fully cured, place them in the yard wherever you need a heavy slanted support or weight.
Variations & Tips
Add extra weight: If you want heavier wedges, fill the dustpans closer to the top, as long as the plastic remains stable and the mold can still be moved safely.
Use reinforcing filler: A handful of small gravel mixed into the cement can make each wedge denser and more economical if you are filling deeper molds.
Create cleaner edges: Run the trowel around the top perimeter before the cement sets to knock down sharp ridges. I like doing this because it makes the finished pieces easier to handle.
Choose the right rope: Nylon or polypropylene rope holds up better outdoors than cotton. Avoid thin string, which can pull loose over time.
Match the use to the shape: These are best for wedging, bracing, or weighing down outdoor items on the ground; they are not a substitute for structural supports or vehicle wheel chocks.
Let them cure fully: Cement continues to gain strength over several days. If you can wait a bit longer before putting them into regular service, they will hold up better in the long run.