
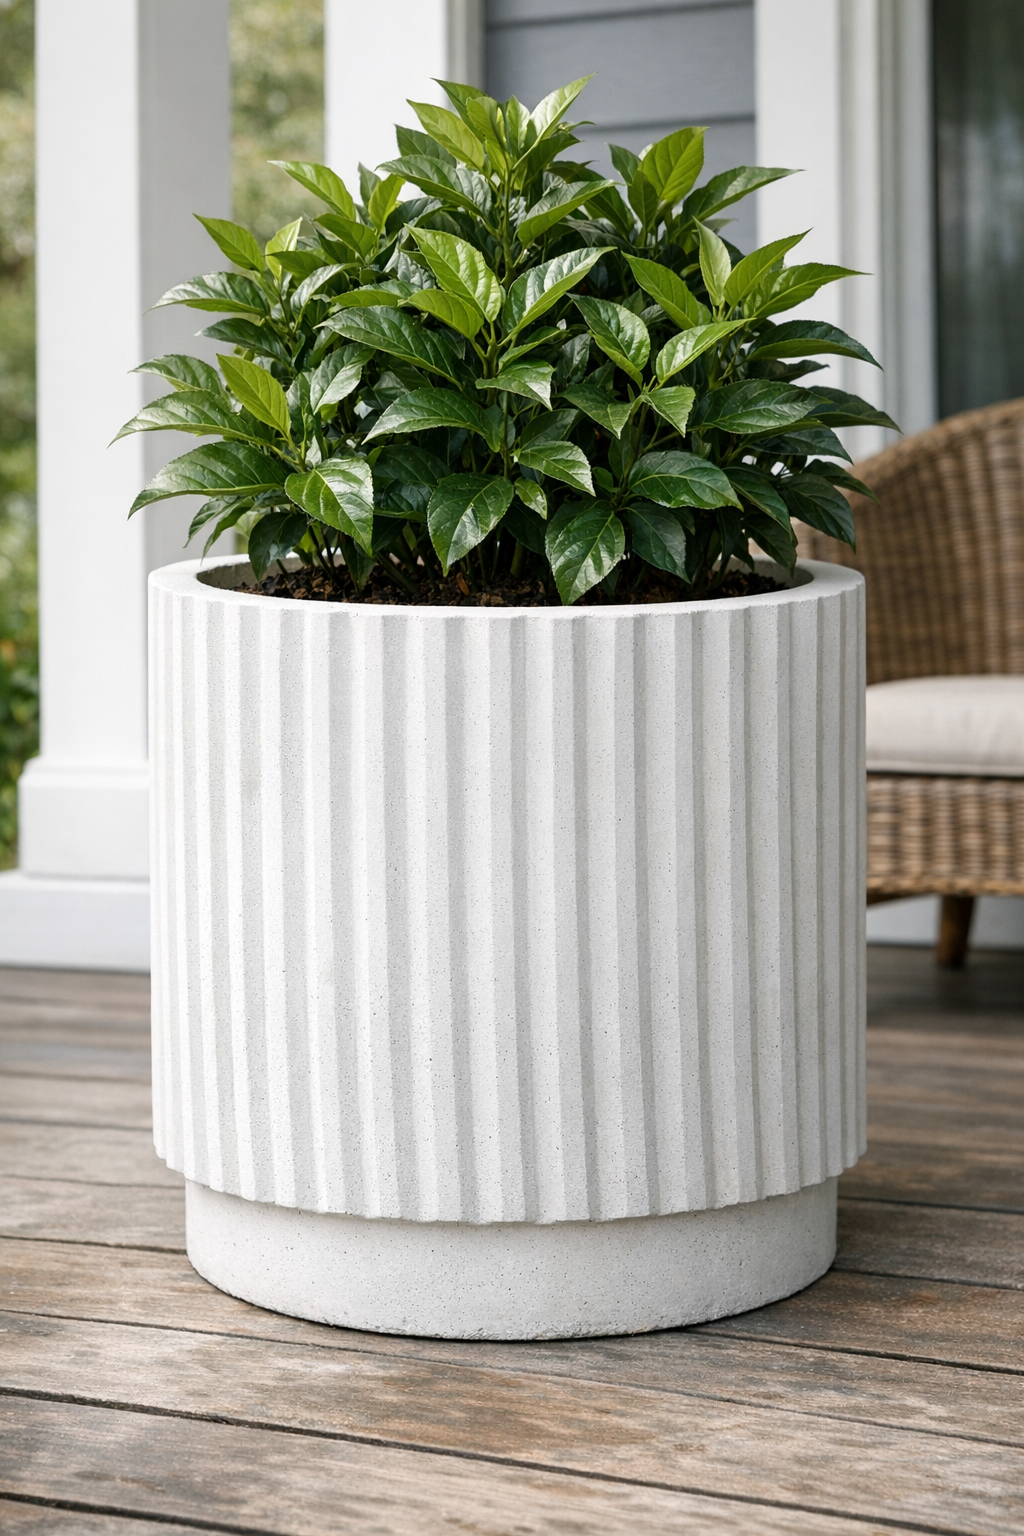
There is something especially satisfying about making a planter that looks like it came from a lovely little garden shop, only to know it started with two ordinary plastic buckets and a bag of white cement. This fluted statement planter gets its graceful ridged shape from the outside bucket, and the finished piece has that clean, sturdy look that works just as well on a front porch as it does on a sunny patio. Around here, I have always believed the prettiest things in the yard do not have to be the most expensive, and this is one of those projects that proves it.
If you have a little patience and do not mind getting your hands dusty, this is a very approachable concrete project. I like it for anyone who wants a high-end planter on a modest budget, and it is especially nice if you enjoy giving plain materials a second life. It reminds me of the old Midwestern habit of making do, but making it beautiful too.
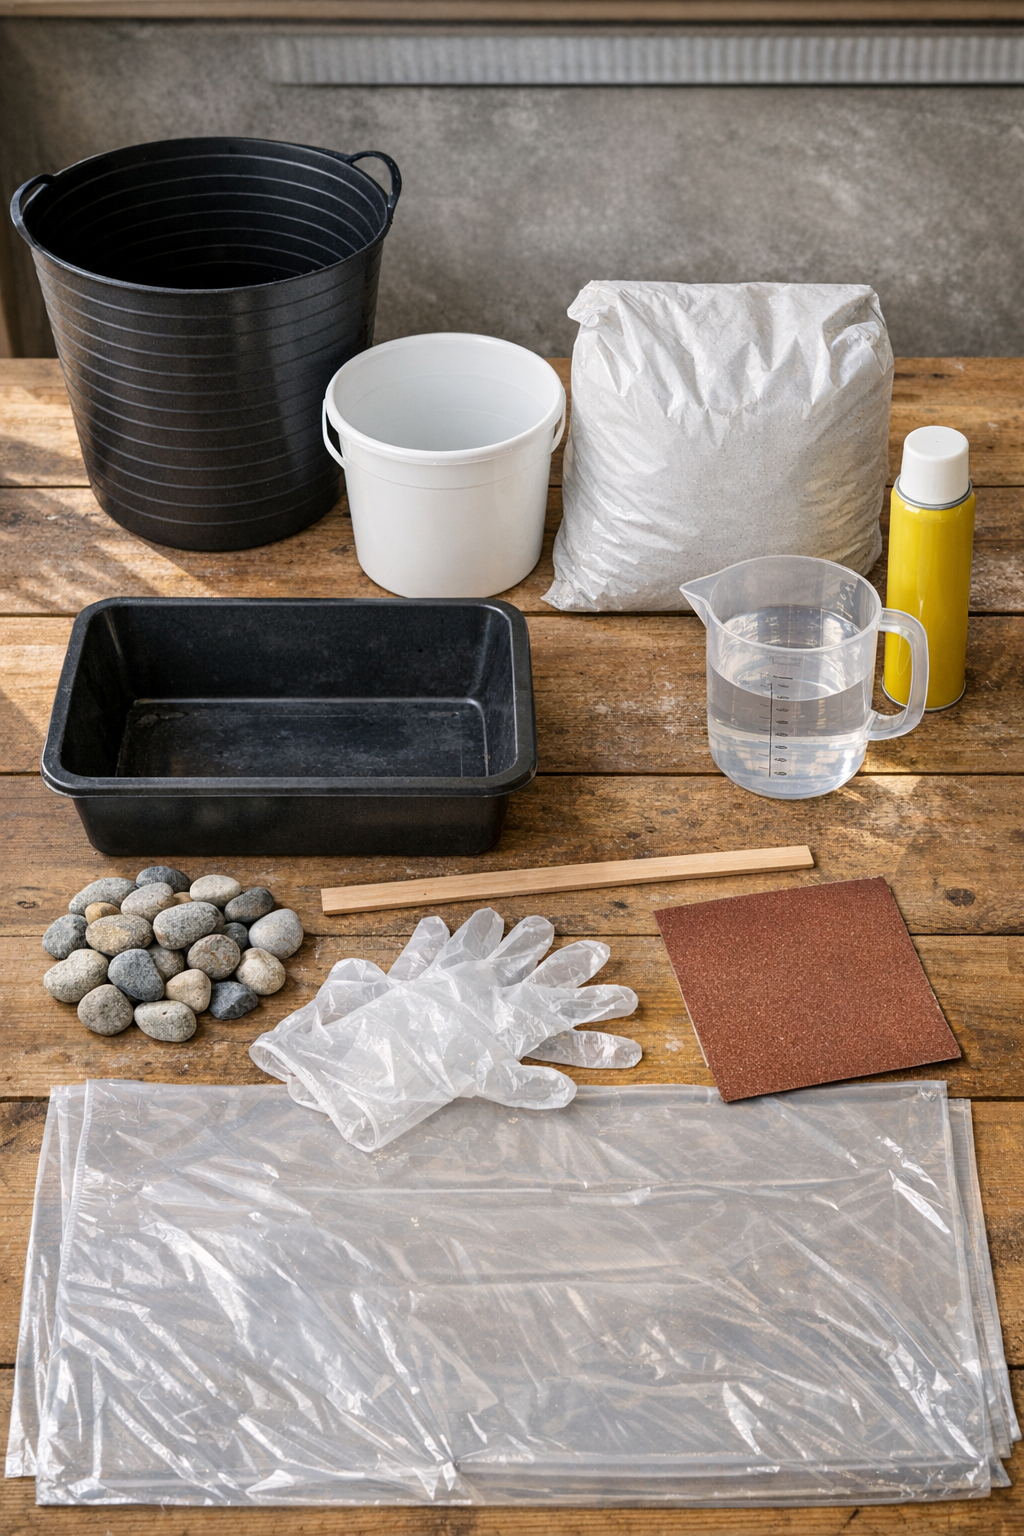
Materials
1 large ribbed plastic bucket, 12 to 14 inches wide and 12 inches tall
Instructions
1. Spread your plastic sheet over a flat work surface and set out both buckets to make sure the smaller pail sits centered inside the larger one with about 1 to 2 inches of space all around.
2. Coat the inside of the large ribbed bucket and the outside of the smaller pail with a thin, even layer of cooking oil or nonstick spray so the concrete releases more easily later.
3. Place the drainage spacer in the center bottom of the large bucket; this will leave a small drainage hole in the finished planter.
4. Pour the white concrete mix into your mixing tub, then add water a little at a time and stir until it reaches the texture of thick brownie batter that can hold its shape but still settles when tapped.
5. Scoop concrete into the bottom of the large bucket until you have a base about 2 inches thick, then tap the bucket firmly on the work surface a few times to release trapped air.
6. Press the smaller pail down into the center of the wet concrete, stopping before it touches the drainage spacer, and check that the wall gap stays even on all sides.
7. Add the small stones into the inner pail to weigh it down so it will not float up as you fill the sides with concrete.
8. Pack wet concrete into the space between the two buckets a few handfuls at a time, pressing it down with the stir stick to prevent air pockets and filling until the sides are level all the way around.
9. Tap the outer bucket several more times and gently jiggle the inner pail to help the mix settle into the ribbed grooves for a crisp fluted pattern.
10. Smooth the top rim with a damp finger or stir stick, then use a short strip of painter's tape across the top if needed to keep the inner pail centered while the concrete begins to set.
11. Let the planter cure undisturbed for 24 to 36 hours, or until the concrete feels firm and cool but no longer soft to the touch.
12. Remove the stones from the inner pail, gently twist and pull the inner pail free, then peel or flex the large ribbed bucket away from the outside of the planter.
13. Sand any rough spots on the rim and drainage hole first with coarse sandpaper, then smooth with fine sandpaper for a clean finished edge.
14. Allow the planter to continue curing for another 5 to 7 days before planting so it can fully harden and hold up well outdoors.
Variations & Tips
For a taller planter: Use a deeper ribbed bucket and a proportionally taller inner pail, but keep at least 1 inch of concrete thickness around the sides and bottom so the piece stays strong.
For a softer aged look: After curing, lightly rub the surface with fine sandpaper or a damp cloth to mellow the bright white finish and bring out a more weathered garden feel.
For easier unmolding: If your buckets are stiff, let the planter sit another 12 hours before removing the mold, then press around the plastic sides gently instead of pulling hard all at once.
To avoid cracks: Do not make the mix too watery, and keep the planter out of hot direct sun while it cures; slow curing gives concrete a stronger finish, something I learned years ago helping patch fence post footings on the farm.
For planting: Add a layer of gravel only if your potting mix is very dense; with a proper drainage hole, most plants do better with good potting soil than with too much rock in the bottom.
For color changes: You can use gray concrete instead of white, or seal the cured planter with a masonry sealer for a slightly darker, richer tone and better stain resistance outdoors.