
I love a garden project that looks expensive but is actually built from very ordinary things, and these textured cement pavers are exactly that kind of win. By pressing an old rubber welcome mat into wet cement, you can create slabs with a carved-stone look that add instant character to a path, patio corner, or planting bed.
This is a great weekend project for anyone who wants custom garden hardscaping without paying for store-bought decorative pavers. I’m especially fond of projects like this because I can do the messy part in an afternoon, let everything cure while I handle the rest of life, and come back to a finished result that makes the yard feel much more polished.
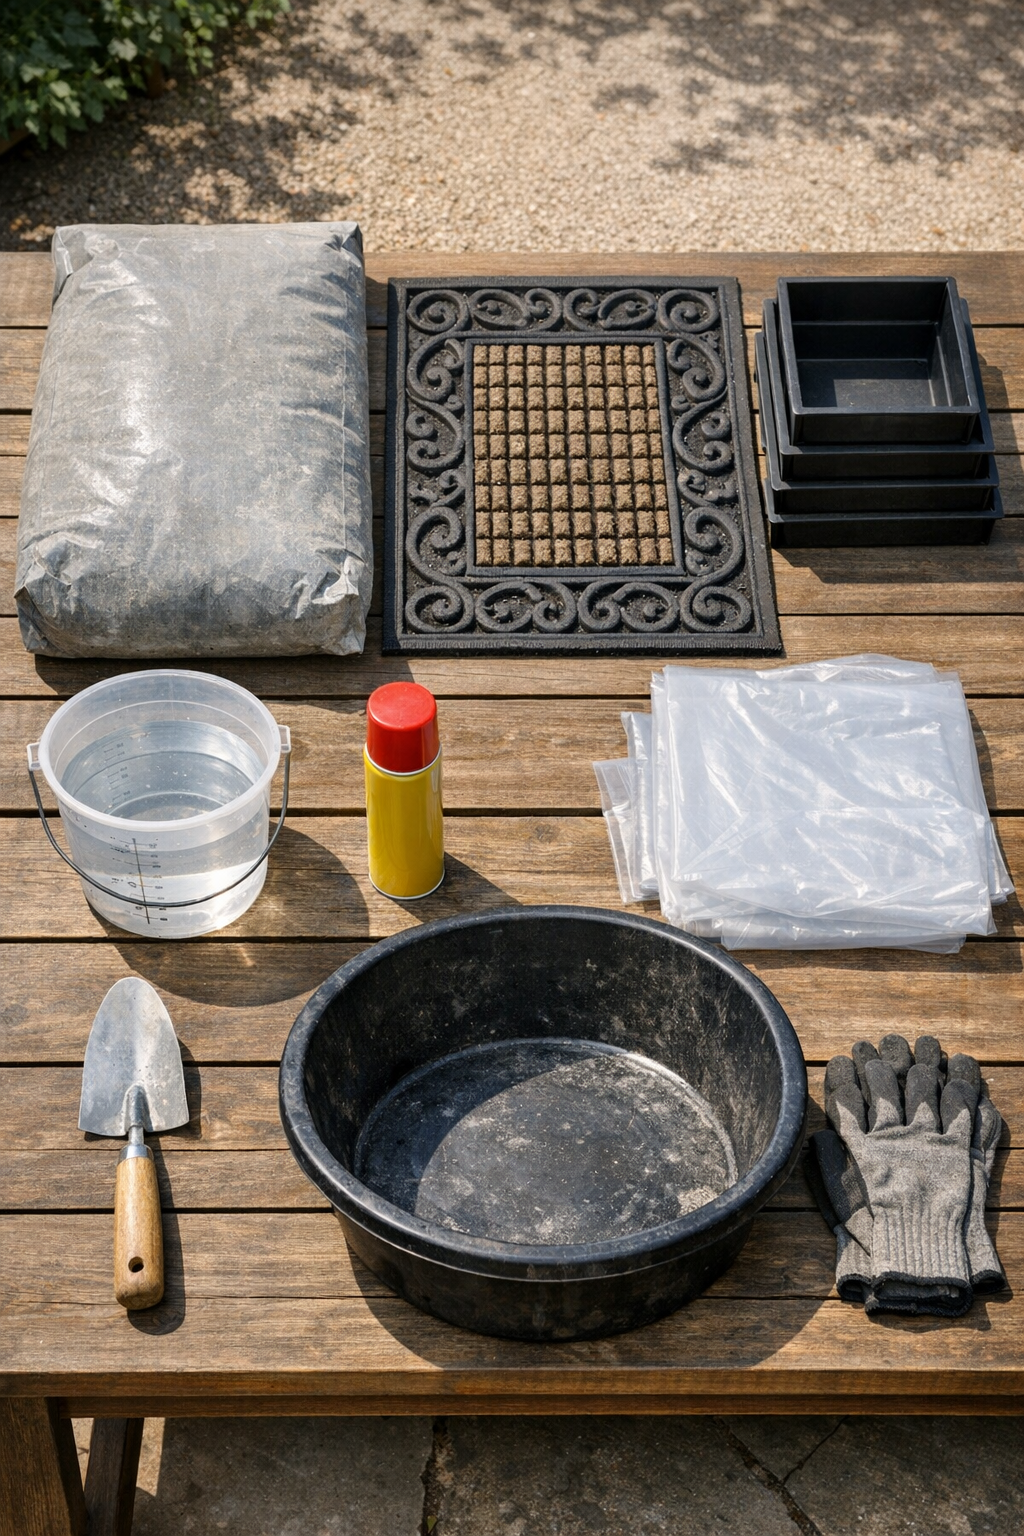
Materials
Instructions
1. Choose a flat outdoor work area and cover it with the plastic drop cloth. Set the cardboard or plywood on top so your molds stay level while the cement cures.
2. Clean the rubber welcome mat well and let it dry so no dirt transfers into the surface of the pavers. If the mat is larger than your molds, that’s fine; you’ll press only the section you want into each slab.
3. Lightly coat the inside of each paver mold with cooking spray or mold release. Wipe out any puddles so the molds are just lightly slick, not greasy.
4. If your work surface is uneven, spread a thin layer of dry sand under the molds to help level them. This extra minute makes a big difference in getting pavers with an even thickness.
5. Pour the concrete mix into your mixing tub and add the water a little at a time. Stir until the mix is thick like brownie batter and holds its shape without being dry or crumbly.
6. Fill each mold halfway, tap the sides a few times to settle the mix, then add more concrete until each mold is full. Use the trowel to push the mix into the corners so the pavers come out clean and square.
7. Drag the scrap board across the tops of the molds to screed off the excess and level the surface. Smooth lightly with the trowel, but don’t overwork it.
8. Let the molds sit for 10 to 20 minutes, just until the surface is no longer soupy but still soft enough to take an impression. Timing matters here; if I press too early, the pattern slumps, and if I wait too long, the mat barely marks the surface.
9. Lightly spray or wipe the rubber mat with a very thin coat of oil or water so it releases cleanly. Lay the textured side down over the first mold and press firmly and evenly with both hands.
10. Lift the mat straight up to reveal the texture, then repeat on the remaining molds. If any area looks shallow, place the mat back carefully and press that section once more without twisting it.
11. Clean up the edges with a damp sponge or the trowel if the cement bulged over the mold sides. Leave the pavers undisturbed for at least 24 hours to set.
12. Remove the pavers from the molds and place them on a flat surface to continue curing for 5 to 7 days. If the weather is hot or windy, cover them loosely with plastic for the first couple of days so they cure more slowly and crack less.
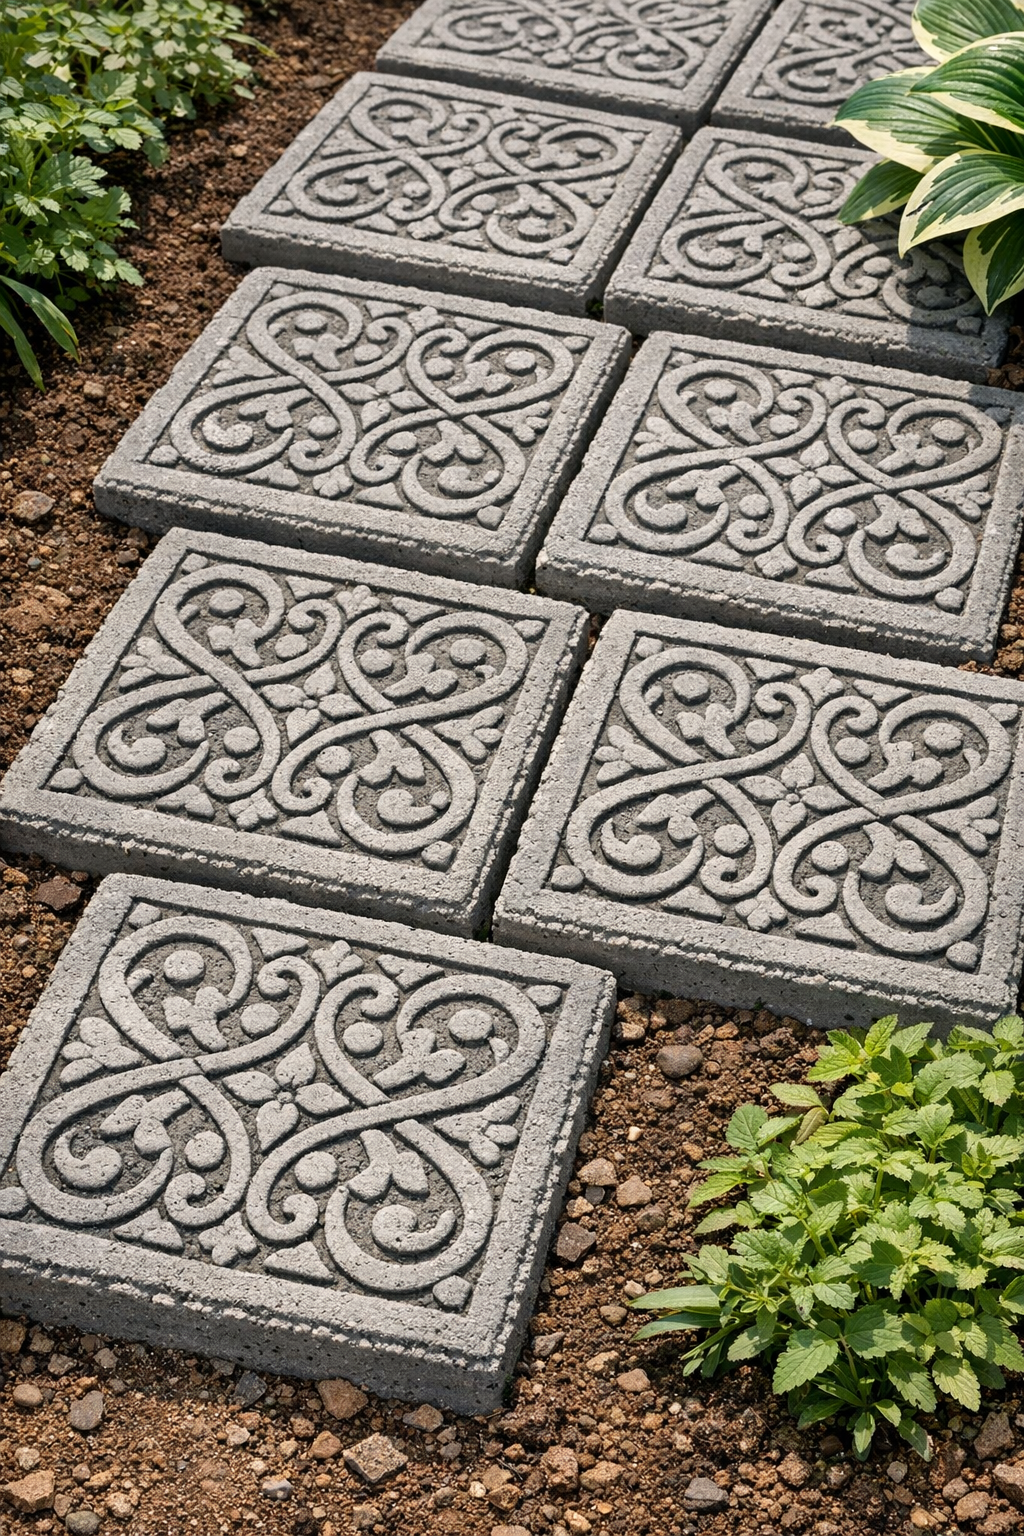
13. Once fully cured, place the pavers on a compacted bed of sand or soil in your garden path and press them level. Step back and enjoy the stone-like texture from something that started with an old doormat.
Variations & Tips
Try different mat patterns: Rubber mats with geometric, scroll, or basketweave designs all create a different carved effect. Just avoid mats with very deep undercuts, since they can stick in the cement.
Change the paver shape: Square molds are the easiest, but round or rectangular molds work too. I like mixing a couple of sizes when I want a path to look less formal.
Add color: You can mix concrete pigment into the cement before pouring if you want warmer stone tones. Charcoal, sandstone, and slate shades all look especially nice in a garden.
Make them stronger: For larger pavers, press a piece of galvanized hardware cloth or mesh into the center of each slab after filling the mold halfway. That little bit of reinforcement helps reduce cracking.
Use leftover mix wisely: If you have extra cement, pour it into a small spare container to make stepping stones for pots or a base for a birdbath. I’m always trying to avoid wasting a half-batch once everything is already mixed.
Seal for easier cleaning: After the pavers are fully cured, brush on an outdoor concrete sealer if you want better stain resistance. This is especially useful if the path sits under trees or near muddy beds.
Don’t rush curing: The pavers may feel hard after a day, but they gain strength over several days. If you install them too soon, the corners are much more likely to chip.