
These little domed garden border stones are one of those wonderfully low-cost projects that look far more intentional in the yard than their price tag suggests. By pouring cement into flexible silicone muffin pans, you can make a whole batch of uniform, rounded edging pieces that work beautifully around flower beds, herb patches, stepping areas, or even tucked into pots as decorative toppers.
I’m always drawn to projects that borrow a kitchen item for outdoor use, and this one is especially satisfying because the silicone does the hard part for you: it releases the cured cement cleanly and gives each piece a soft, finished dome. If you’re a beginner who wants to try working with cement without committing to expensive molds or complicated forms, this is a very approachable place to start.
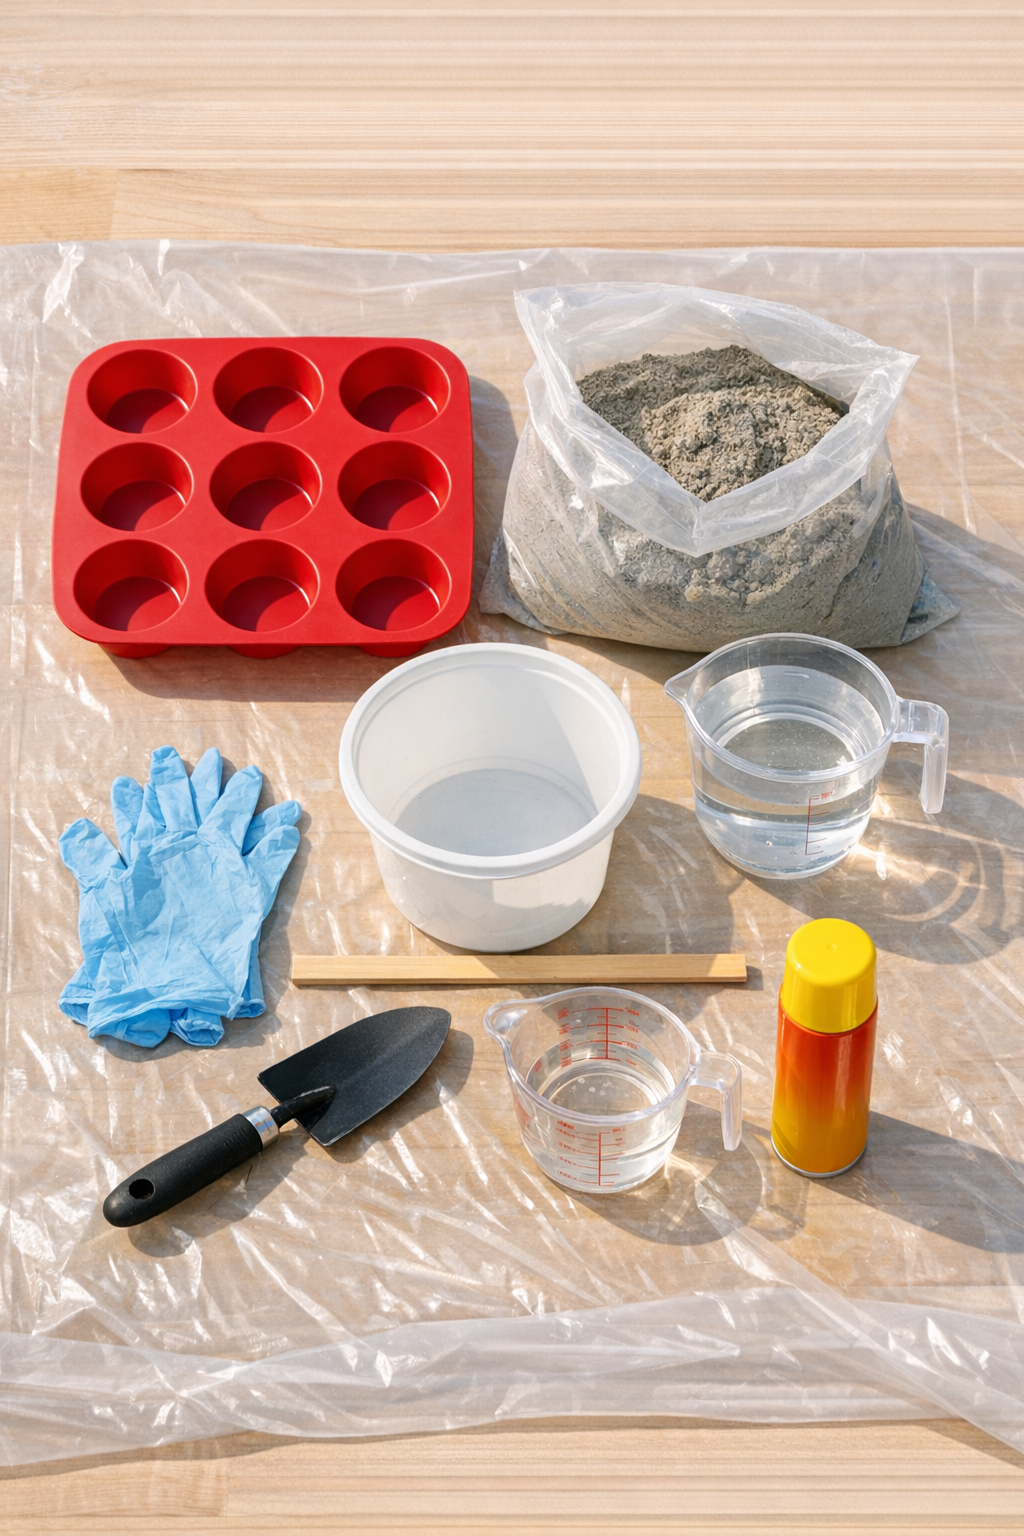
Materials
1 flexible silicone muffin pan, 12-cup standard size
Instructions
1. Set up on a flat, protected surface outdoors or in a well-ventilated garage, and place the silicone muffin pan on a board, tray, or other rigid base so it stays level when filled.
2. Lightly coat each muffin cup with oil, silicone spray, or mold release, then wipe out any heavy pooling so the surface of the cement stays smooth.
3. Pour the dry cement mix into a bucket, add water a little at a time, and stir until you reach a thick, spoonable consistency similar to creamy peanut butter.
4. If you want colored stones, mix in exterior concrete pigment thoroughly now so the color is even throughout the batch.
5. Spoon the cement into each muffin cup, filling them nearly to the top, then tap the pan firmly on the work surface several times to release trapped air bubbles.
6. Smooth the exposed backs with a trowel, putty knife, or scrap of wood, and add a sprinkle of fine sand if you want the base to feel less slick once cured.
7. Press in decorative gravel, glass gems, or mosaic pieces now if you’d like embellishment, keeping them shallow so the stones still sit flat where needed.
8. Let the cement set undisturbed according to the mix directions, usually 24 hours for initial curing, then flex the silicone pan gently to release each dome.
9. Set the stones in a shaded spot and allow them to cure for another 2 to 5 days, misting lightly once or twice a day if the weather is hot or very dry.
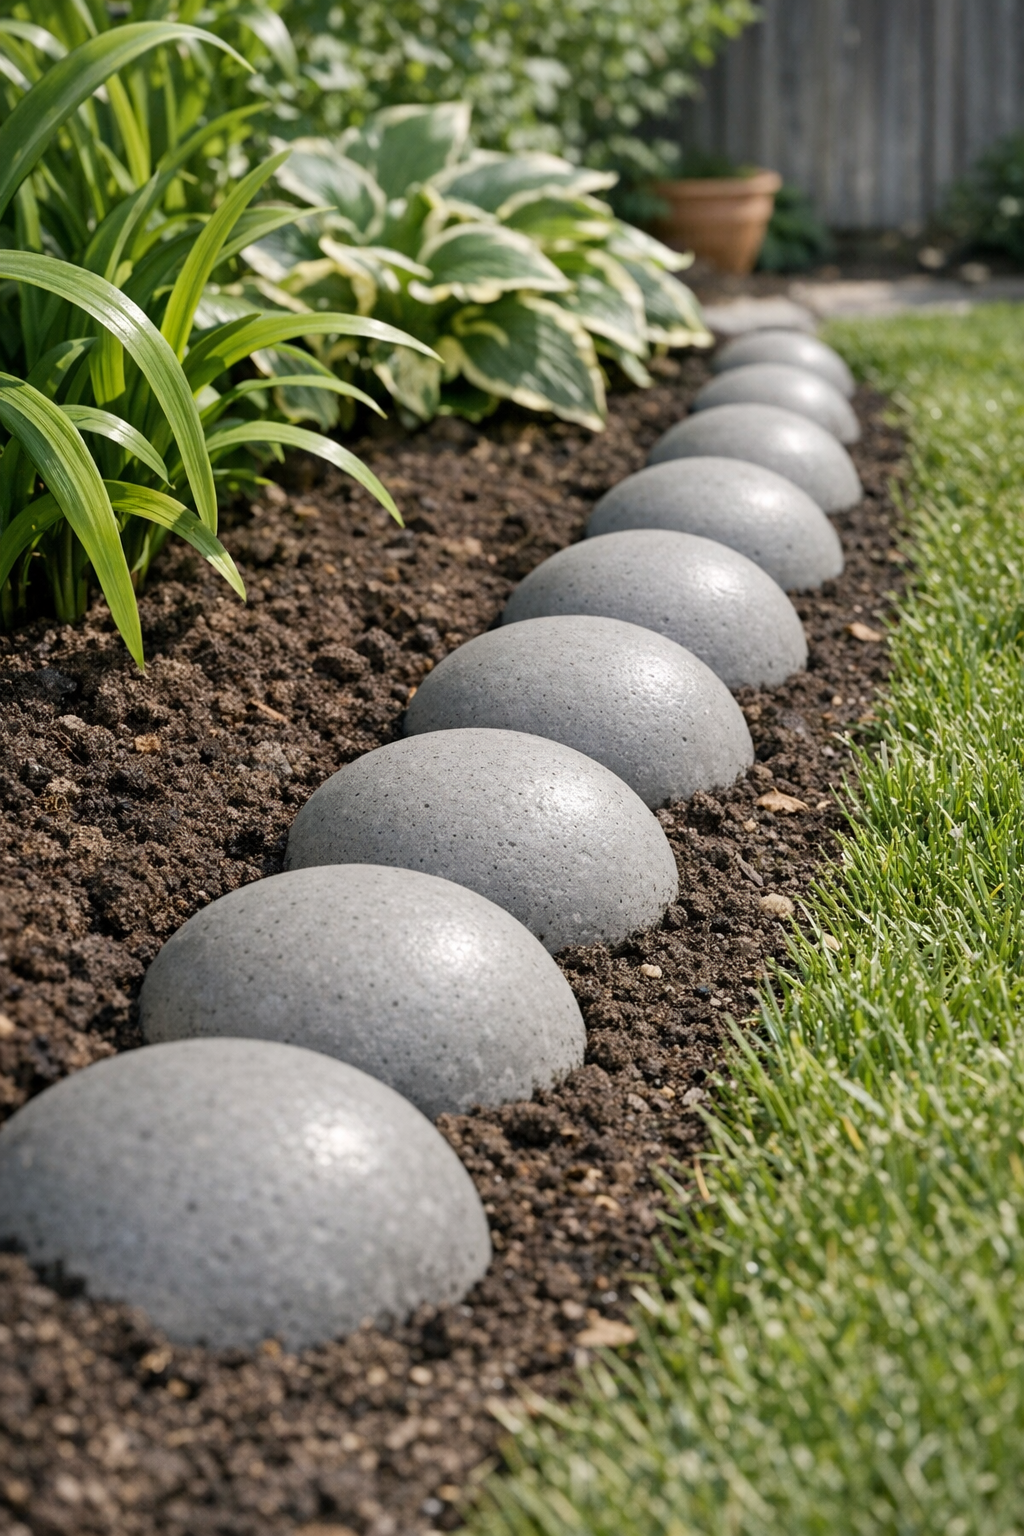
10. Arrange the finished domed stones along your garden edge, pressing each one slightly into the soil for stability and spacing them tightly or with small gaps depending on the look you want.
Variations & Tips
For a more stone-like look: Blend a little fine sand into the surface or brush the cured domes with diluted yogurt or buttermilk and leave them outdoors to encourage a weathered patina over time.
For stronger pieces: Use a high-quality sand-topping mix or concrete mix with fine aggregate rather than plain cement alone; it holds up better outdoors, especially through freeze-thaw cycles in a Midwestern climate.
For easier handling: Make several small batches instead of one large one. Cement begins setting quickly, and I’ve found that a manageable batch gives neater, more consistent stones.
For decorative accents: Press marbles, pebbles, or bits of tile into only a few stones and mix them among plain ones so the border looks intentional rather than overly busy.
To avoid cracks: Don’t make the mix too wet. Extra water makes pouring easier in the moment, but it weakens the finished pieces and increases shrinkage.
To keep the domes uniform: Set the muffin pan on a rigid tray before filling. Silicone shifts easily, and that little bit of support makes every stone come out much more even.
For winter durability: Let the stones cure fully before placing them outdoors permanently. If temperatures are dipping near freezing, I wait a few extra days so they harden completely.