
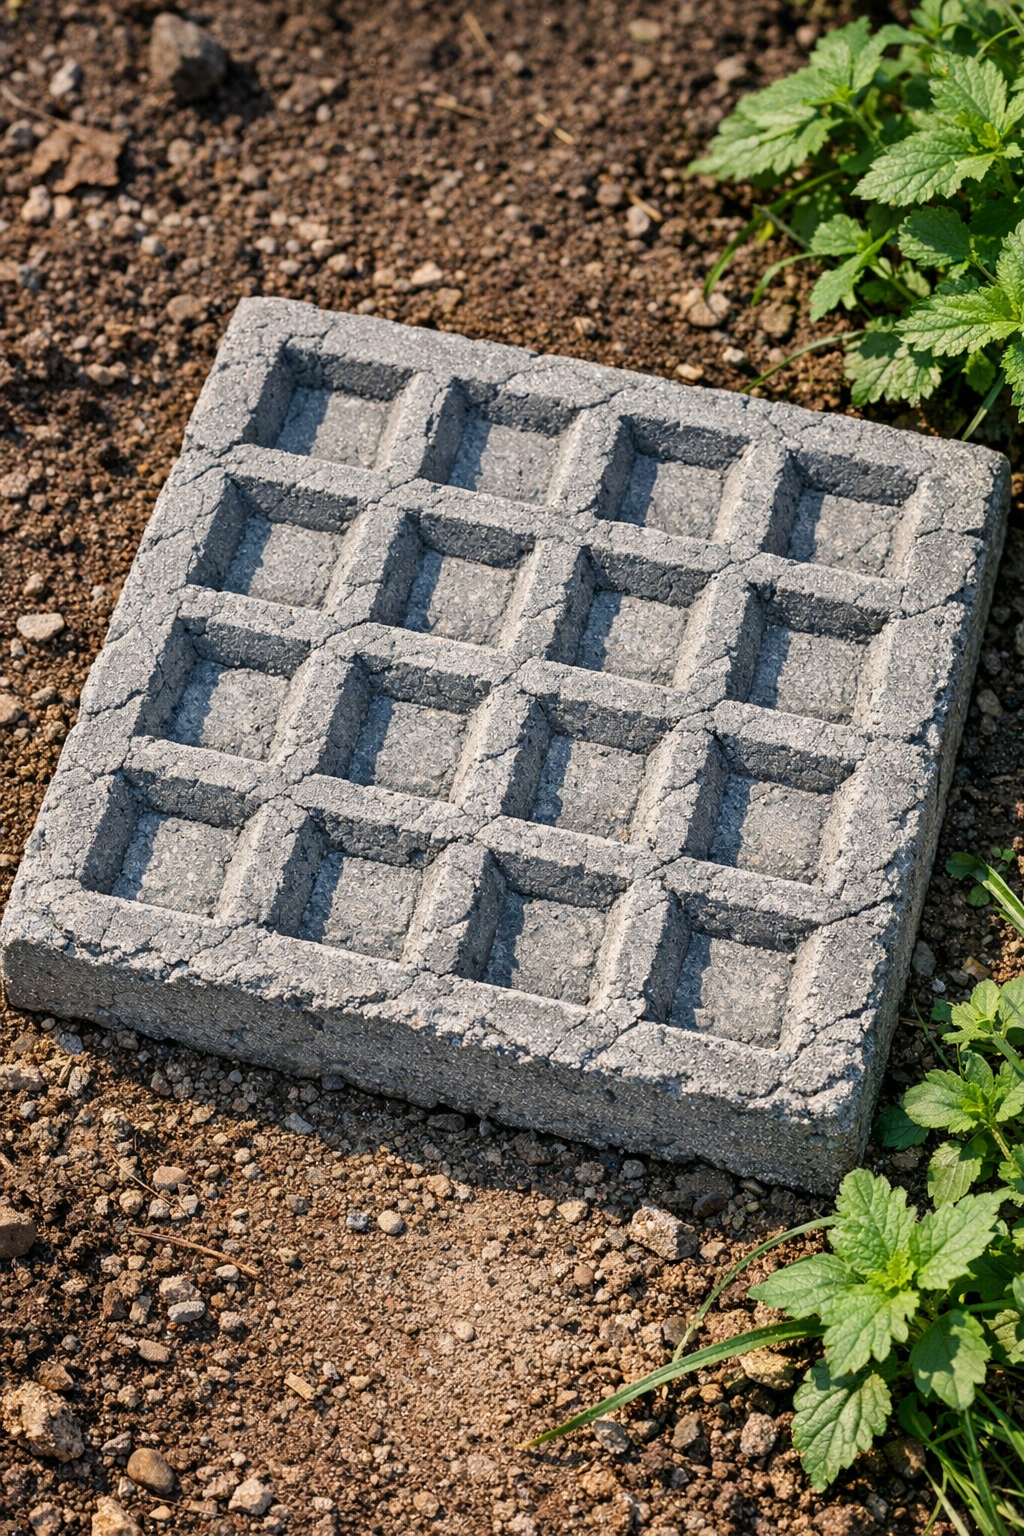
There’s something mighty satisfying about turning a plain old slab of cement into something that looks like it came from a stone path in an old garden. This project uses blue plastic ice cube trays pressed into wet cement to make a waffle-like texture that softens once it cures, giving the pavers a carved-stone look with hardly any fancy equipment at all. It’s one of those clever little tricks I appreciate more and more these days—simple, thrifty, and surprisingly handsome when it’s done.
I’d recommend this project for anyone who wants to dress up a garden path, tuck a few stepping stones between raised beds, or add a homemade touch to the yard without spending a fortune on store-bought pavers. It reminds me of the kind of practical creativity folks have always made room for out here in the Midwest: use what you’ve got, work carefully, and end up with something sturdy and pretty besides.
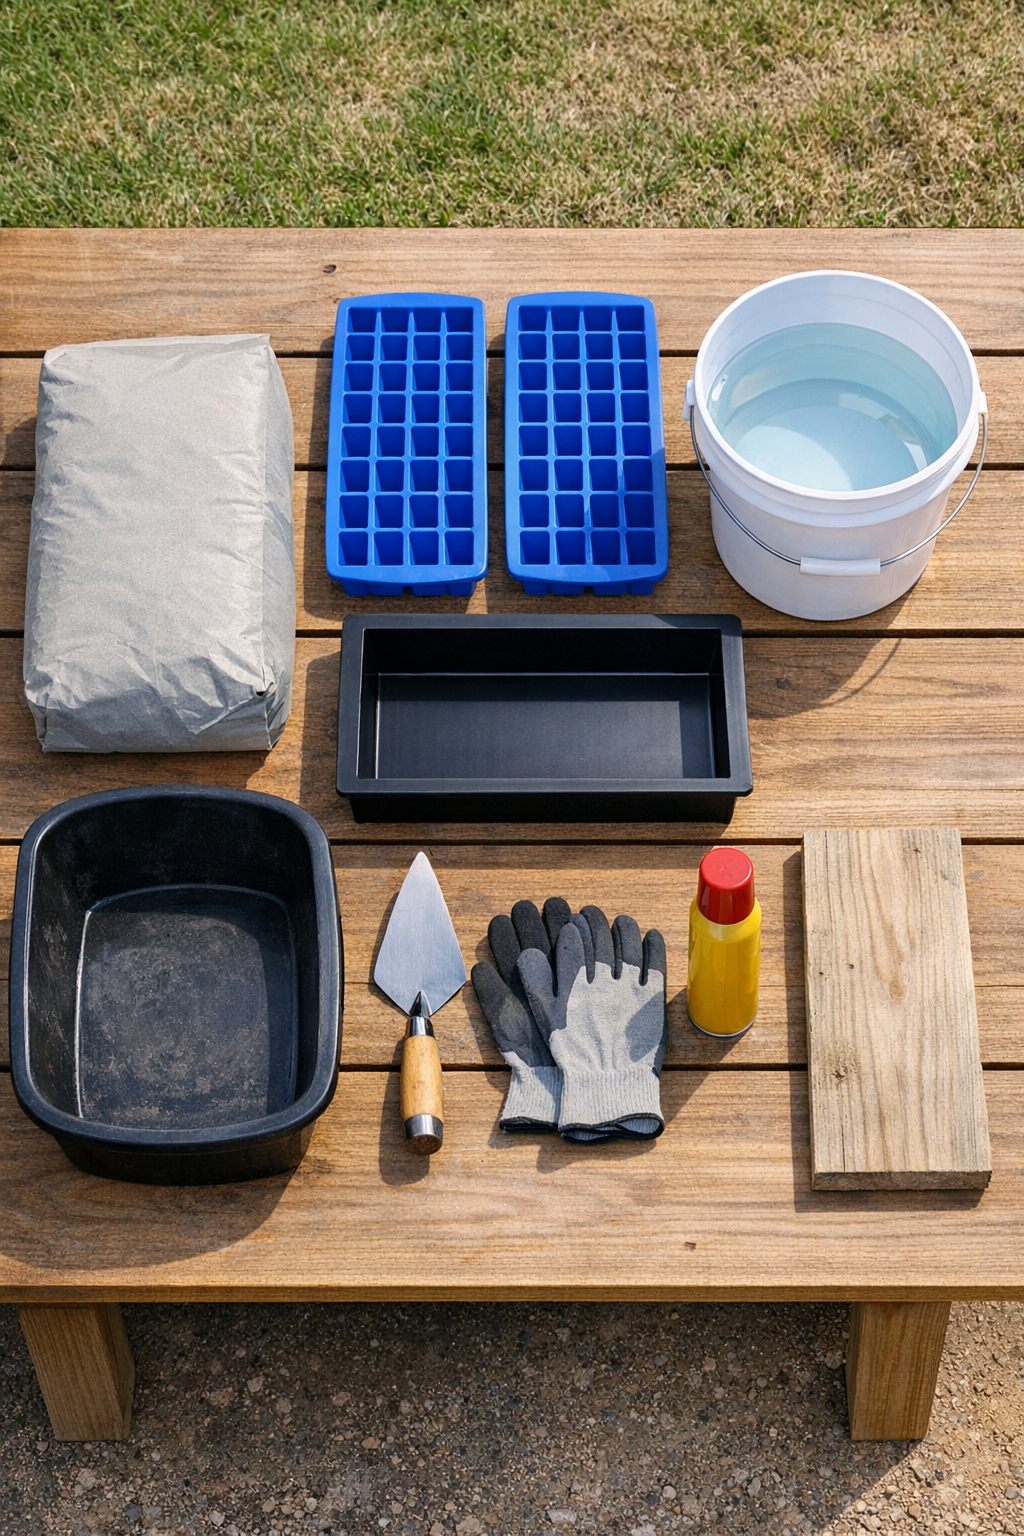
Materials
1 bag fast-setting concrete or sand-topping cement mix, 50 pounds
Instructions
1. Set your tarp on a flat, level surface and place the paver mold on top of it. Lightly coat the inside of the mold and the bottoms of the ice cube trays with cooking oil or nonstick spray so they release cleanly later.
2. Pour the cement mix into your tub, add the water a little at a time, and stir until it reaches the texture of thick peanut butter. It should hold its shape when scooped, but still spread easily into the mold.
3. Pack the wet cement into the mold until it is filled to about 2 inches deep, then tap the sides with your hand or a mallet to bring air bubbles to the surface. Smooth the top with your trowel, then drag the scrap board across the mold to level it.
4. Let the cement sit for 10 to 20 minutes, just until the surface firms up enough to hold an impression without slumping. Test a corner with a fingertip; it should feel damp and workable, but not soupy.
5. Press the blue plastic ice cube trays gently and evenly into the surface, arranging them so the pattern covers the slab in a balanced way. Push just deep enough to leave a clear grid impression, about 1/4 to 1/2 inch, without bottoming out in the mold.
6. Lift the trays straight up with steady hands so the pattern stays crisp. If any section pulls or smears, tidy the edges lightly with a fingertip in gloves or the corner of the trowel.
7. Leave the slab undisturbed for 24 hours, loosely covered with plastic or an old towel so it cures slowly and evenly. If the weather is hot or windy, mist the cover very lightly to keep the surface from drying too fast.
8. Remove the mold carefully the next day and let the paver continue curing for another 2 to 5 days before placing it in the garden. Once fully cured, set it on compacted soil or a shallow bed of sand so it sits level and steady.
Variations & Tips
Make it look older: After the paver cures, brush a thin wash of watered-down dark grey or brown concrete stain into the grooves and wipe the surface clean. That little bit of contrast settles into the texture and brings out the stone-like look beautifully.
Try different shapes: Square molds are the easiest for this pattern, but rectangular pavers work just as well for a narrow garden path. Just be sure your trays fit the surface in a way that looks intentional rather than crowded.
Use a stronger base: If the pavers will go in a high-traffic area, set them over 1 to 2 inches of compacted sand or fine gravel. That helps prevent wobbling and cracking over time, especially through wet seasons and winter freezes.
Don’t press too soon: This is the part I’d tell any beginner to watch closely. If the cement is too wet, the pattern will slump; if it’s too dry, the trays won’t leave a clean impression, so that short waiting time makes all the difference.
Keep extra trays handy: Having a second or third tray ready lets you cover the slab quickly before the surface changes too much. It’s a small thing, but it makes the pattern more even from one end to the other.
Round the edges if you like: For a softer, timeworn look, run a gloved finger around the perimeter just before the cement fully sets. I like that little touch because it takes away the sharp, brand-new feel and makes the paver look more at home in the garden.