
I love a garden project that looks a little fancy but is actually simple enough to make in an afternoon, and these embossed stepping stones are exactly that. By pressing a plastic floral serving tray into wet cement, you get a beautiful raised pattern that looks like something from a garden boutique, but for a fraction of the cost.
This is a wonderful project for anyone who wants to dress up a walkway, tuck a few decorative stones between flower beds, or make a handmade gift for a gardening friend. I’m especially fond of projects like this because they feel practical and pretty at the same time, and around my house, that combination always wins.
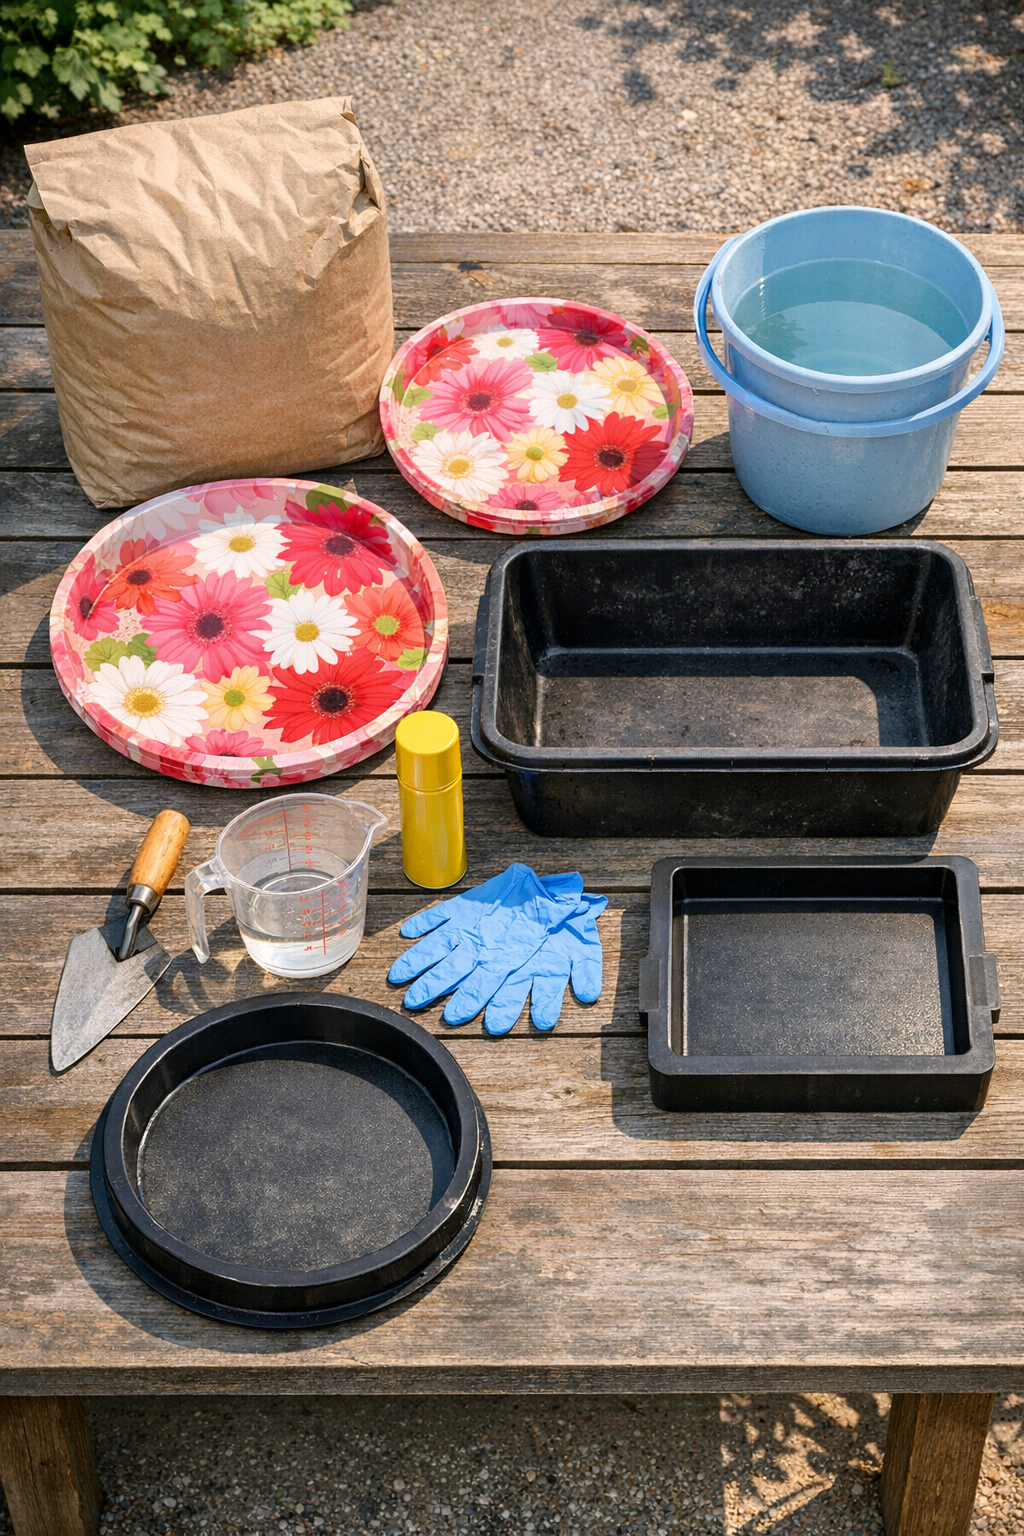
Materials
Fast-setting concrete mix, 1 60-pound bag
Instructions
1. Set up your work area outdoors or in a well-ventilated garage, and cover the surface with a plastic drop cloth. Place your molds on a flat, sturdy surface so the stones cure evenly.
2. Lightly coat the inside of each mold and the patterned side of each plastic floral tray with nonstick spray or a thin layer of oil. This little step makes release much easier later, and I never skip it.
3. Pour the concrete mix into a mixing tub and add water a little at a time, stirring until it reaches the texture of thick brownie batter. Mix thoroughly so there are no dry pockets hiding at the bottom.
4. Fill each mold with concrete to a depth of about 1 1/2 inches, then tap the sides of the mold several times to release trapped air bubbles. Smooth the top with a trowel, but do not overwork it.
5. Wait 5 to 10 minutes, just until the surface begins to firm slightly, then center a plastic floral tray over each mold and press it gently into the wet concrete. Press evenly so the pattern transfers without sinking all the way to the bottom.
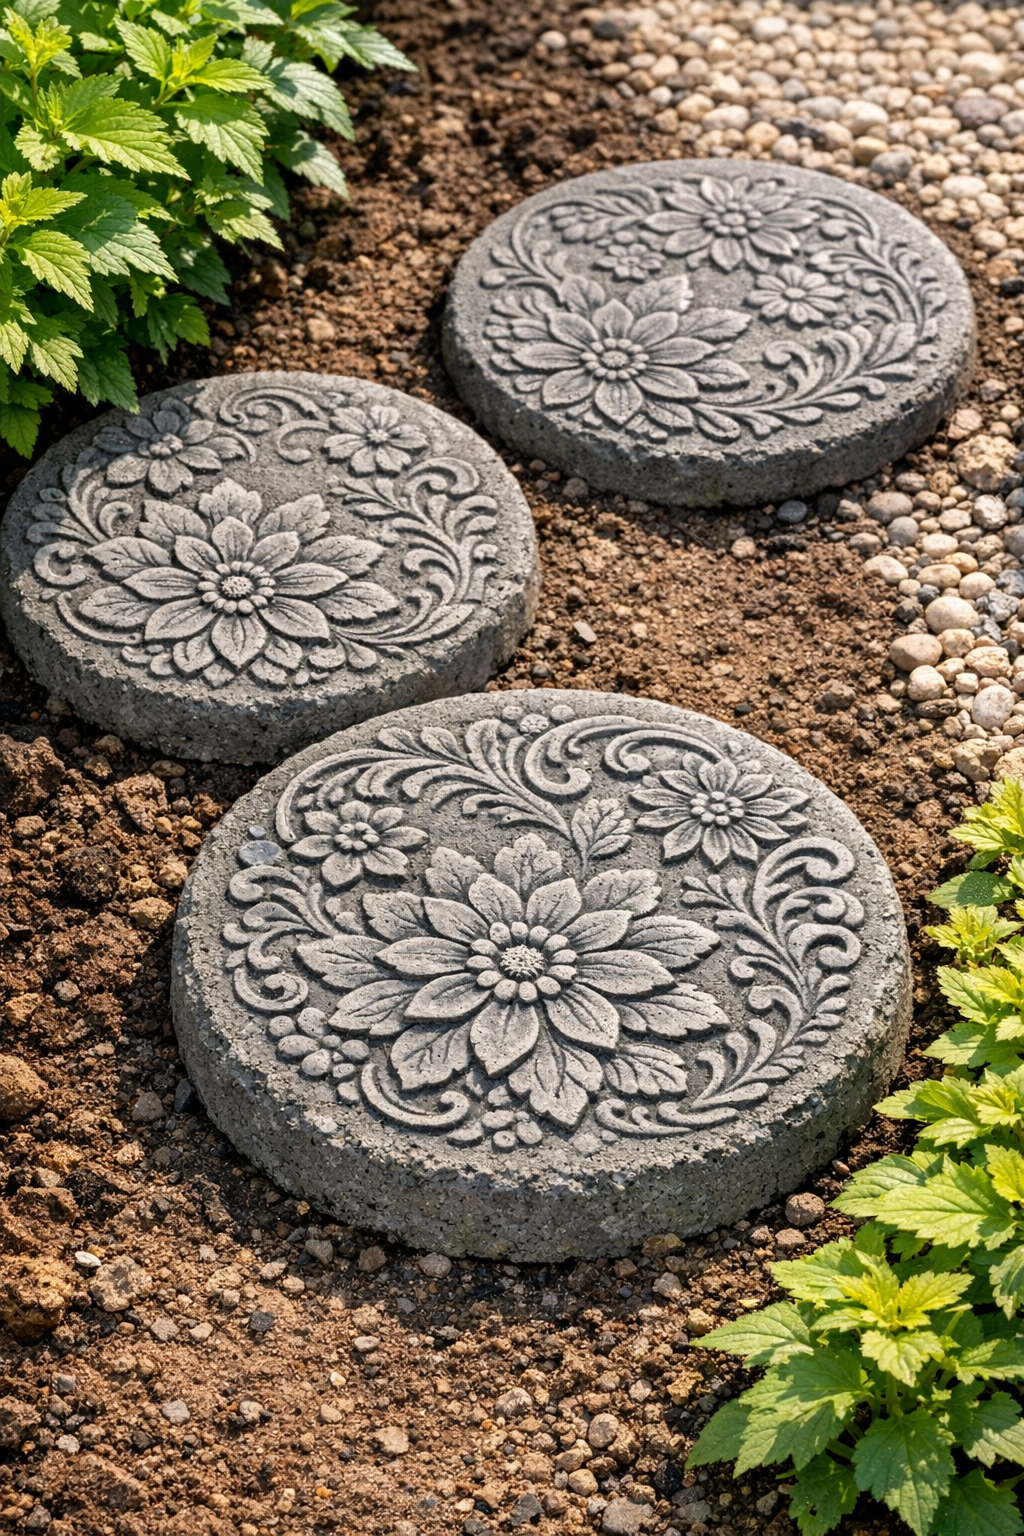
6. Lift the tray straight up slowly and carefully to reveal the embossed design. If an area sticks, ease it up from one side rather than twisting, which can blur the pattern.
7. Let the stones rest undisturbed for 24 to 48 hours, depending on the weather and the concrete mix instructions. Once firm, remove them from the molds and place them on a flat surface to continue curing for another 5 to 7 days.
8. Set the finished stones into your garden path or flower bed by leveling the ground first and adding a thin layer of sand or gravel underneath if needed. Press each stone into place so it sits stable and even with the surrounding soil.
Variations & Tips
For picky decorators: If your family is like mine and everyone has an opinion about the yard, make a few stones with different tray patterns so the walkway feels collected instead of too matchy.
Shape option: Square molds give a tidy, formal look, while round molds feel softer and more cottage-style. Both work beautifully with floral tray patterns.
Color change: You can add concrete pigment to the mix if you want a warmer stone tone, but I think classic grey is especially pretty against green plants and mulch.
Cleaner pattern tip: If the concrete is too wet, the design can slump a bit, so wait those few extra minutes before pressing the tray. That one bit of patience usually gives the sharpest result.
Durability tip: Let the stones cure fully before placing them in a high-traffic area. I know it’s tempting to set them out right away, but giving them time makes a big difference.
Gift idea: These make lovely handmade garden gifts when paired with a small potted herb or flowering plant. I’d happily bring one to a summer cookout instead of the usual hostess gift.