
I love a project that looks expensive in the garden but starts with something totally ordinary from a big-box store. These tall fluted garden pillars are made by using ribbed plastic wastebaskets as molds, then filling them with a cement mix to create sturdy decorative columns that look surprisingly upscale once they’re set in place. If you want that classic, architectural garden feel without paying for premade concrete pillars, this is a really satisfying weekend build.
This project is especially good for anyone who wants a bold outdoor accent near a front walkway, patio, or flower bed. I’m always looking for ways to make my yard feel more polished without turning it into a full renovation, and this kind of project hits that sweet spot for me: practical, durable, and just dramatic enough to make the neighbors curious.
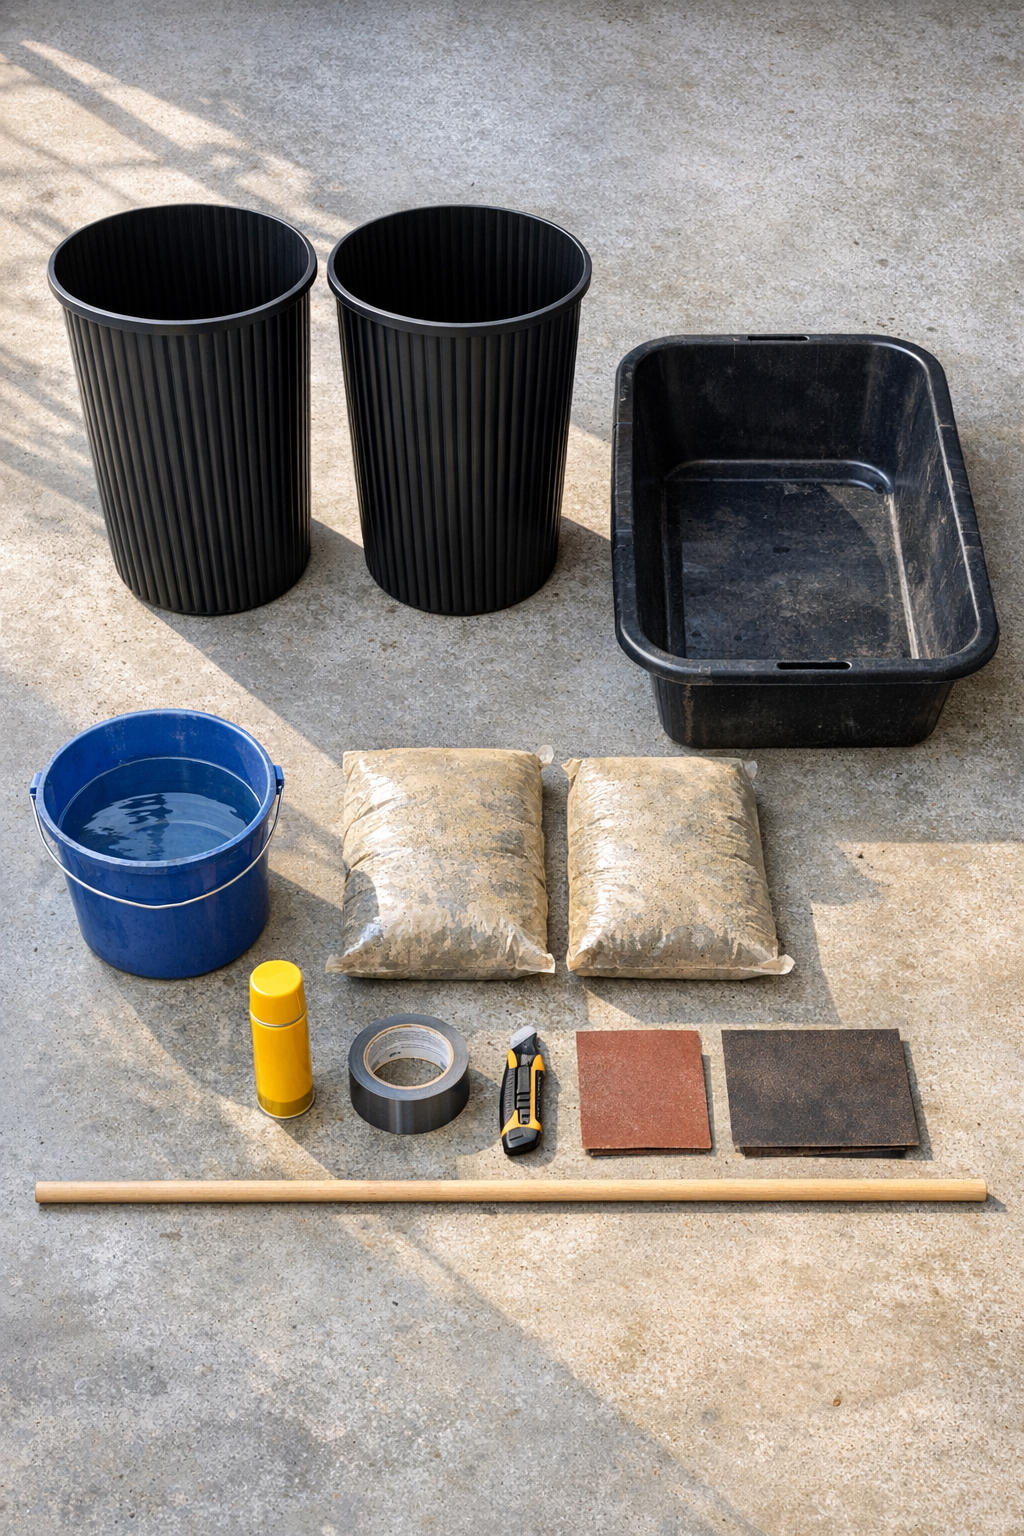
Materials
2 tall ribbed plastic wastebaskets, 12 to 14 inches wide and 20 to 28 inches tall
Instructions
1. Wash and dry the inside of each ribbed wastebasket so the concrete can cure evenly and the mold releases more cleanly.
2. Check each basket for drain holes or weak seams, then seal any openings from the outside with duct tape so wet concrete cannot leak out.
3. Lightly coat the inside of each basket with cooking spray or mold-release spray, wiping away excess so the surface is slick but not dripping.
4. Set the baskets on a flat, level surface where they can stay undisturbed for at least 24 to 48 hours; a piece of plywood or a garage floor works well.
5. Mix the concrete in a large tub according to the package directions until it reaches a thick, pourable consistency similar to stiff pancake batter.
6. If you want extra weight at the bottom, add a 2- to 3-inch layer of pea gravel to each basket before pouring in the concrete.
7. Pour the concrete into the baskets in 4- to 5-inch lifts instead of filling them all at once, tapping the sides firmly after each lift to release trapped air.
8. Slide a wooden dowel down into the concrete several times around the perimeter after each lift to work out hidden air pockets between the ribs.
9. Continue filling until the concrete reaches about 1 inch below the rim, then level the top with a scrap board or trowel.
10. Let the pillars cure in the molds for 24 to 48 hours, or longer in cool weather, until they feel hard and solid.
11. To demold, gently flex the plastic basket to loosen it; if needed, cut down one side with a utility knife and peel the mold away from the concrete.
12. Stand the pillars upright and let them continue curing for another 5 to 7 days before painting, sealing, or placing them permanently in the garden.
13. Sand any rough edges lightly, then apply exterior concrete sealer or masonry paint if you want a more finished look and better weather resistance.
14. Place the finished pillars on a stable, level base in the garden, beside an entry path, or flanking a planter for a formal look.
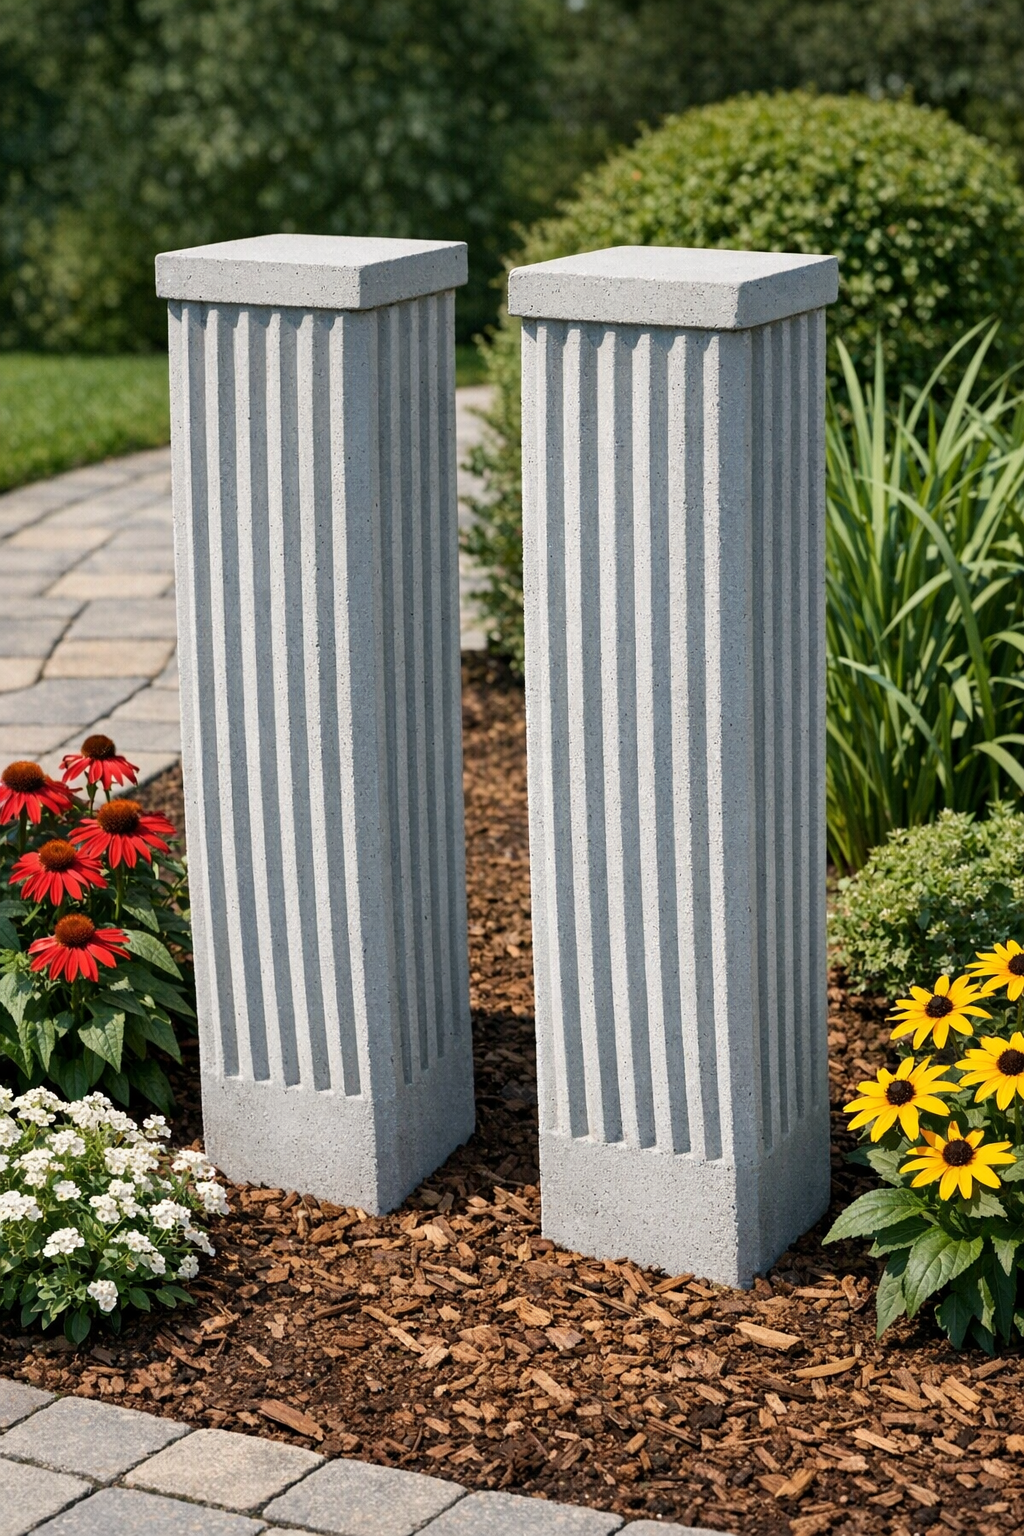
Variations & Tips
Make them look like stone: I like using a light gray masonry paint wash or a dabbed-on lime finish to make plain concrete look a little softer and more high-end.
Use matching molds: Buy identical wastebaskets if you want a symmetrical pair at your front entry; even small shape differences are noticeable once the pillars are side by side.
Add a topper: A concrete paver, planter saucer, or flat stone on top can make the pillar look more custom and give you a place for a lantern or planter.
Work in manageable batches: If you’re mixing alone, make smaller batches of concrete so you’re not racing the clock. I’ve learned the hard way that “just one more bag” can turn into a very rushed garage situation.
Protect the curing surface: Concrete is messy, so put down cardboard, plastic, or scrap plywood first, especially if you’re working on a driveway or patio.
Expect some weight: These pillars are heavy once cured, which is great for wind resistance but not so great for last-minute rearranging, so decide on placement before you move them too far.
Try different heights: Mixing a taller and shorter pair can look beautiful in a garden bed, as long as the wastebasket style is the same so the fluting still feels cohesive.