
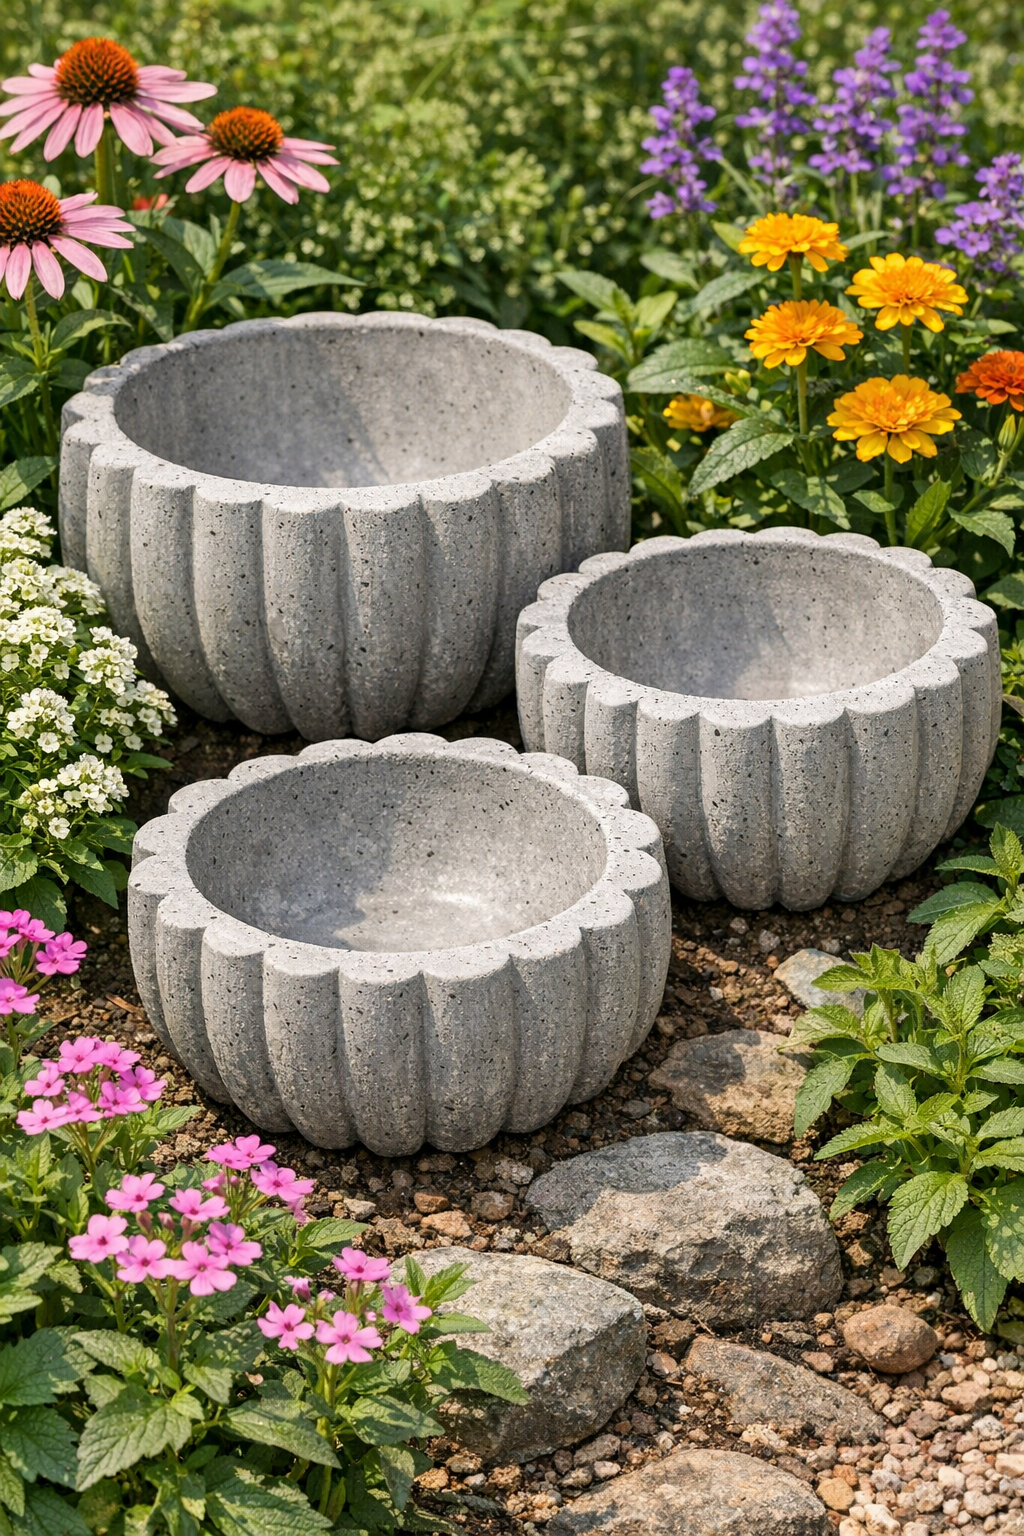
I’ve always had a soft spot for garden projects that look far fancier than they really are, and these fluted cement garden bowls are exactly that kind of make-do magic. By pouring cement between two nested plastic jello molds, you can create sturdy, decorative bowls with lovely ridged sides that catch the light beautifully among flowers, herbs, or tucked onto a porch step.
Out here, we’ve long believed in using what’s on hand and making something lasting from simple materials, and this project fits that spirit perfectly. It’s a good weekend project for beginners, patient tinkerers, and anyone wanting to add a handmade touch to the garden without spending a fortune on store-bought planters or ornaments.
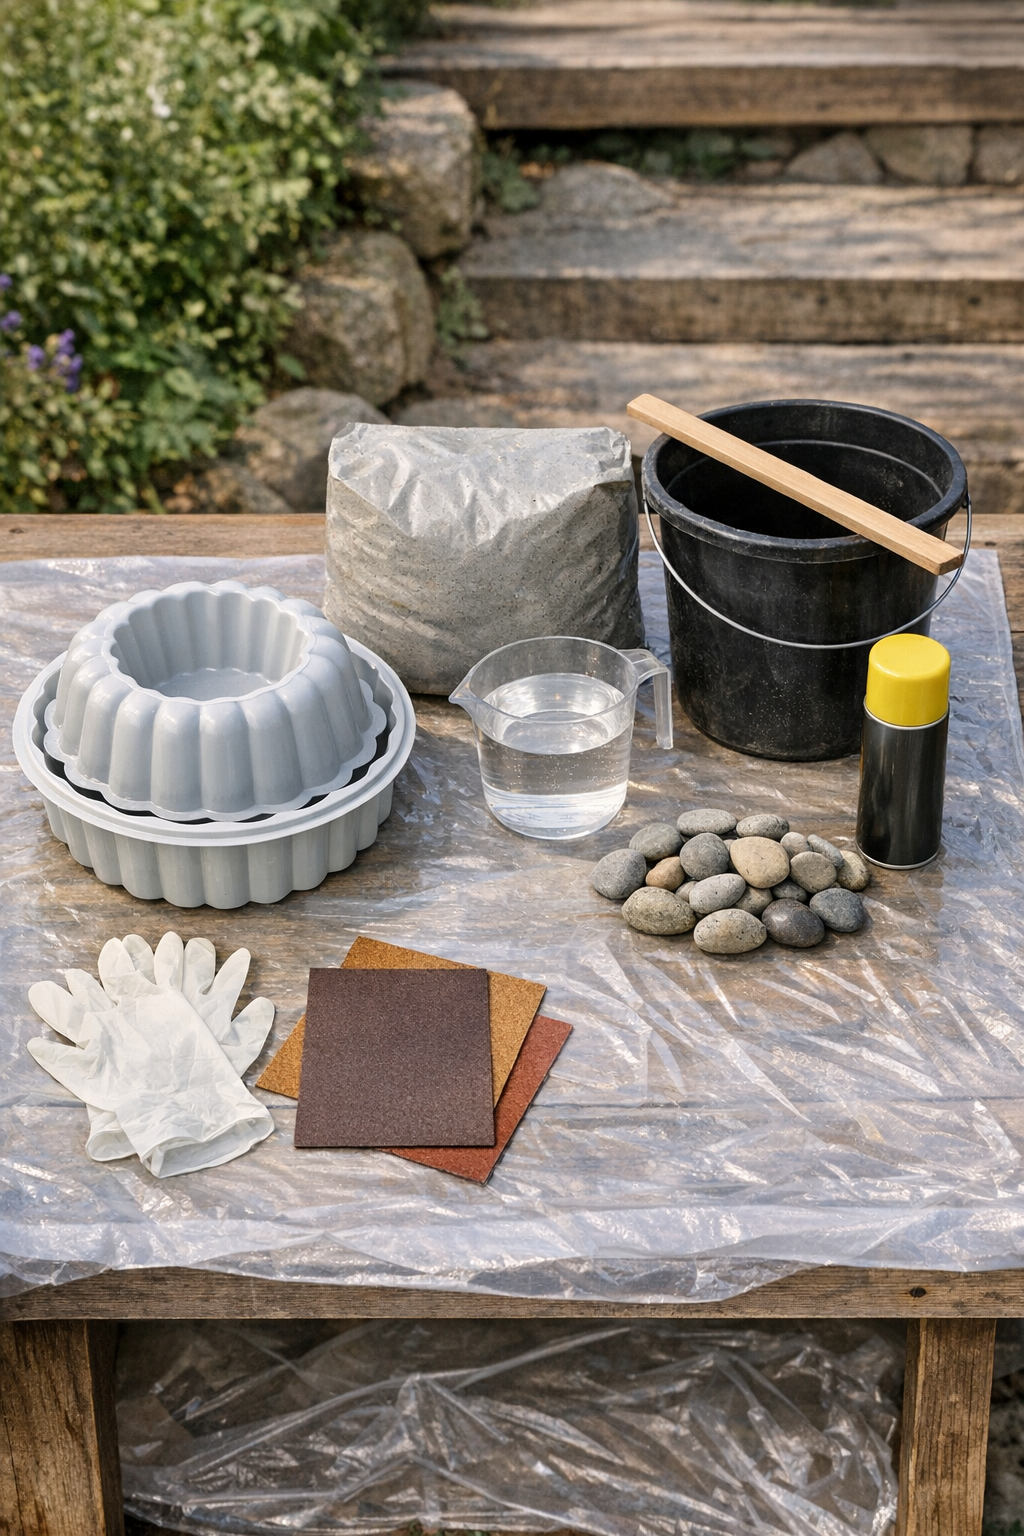
Materials
1 large fluted plastic jello mold, about 9 to 10 inches wide
Instructions
1. Cover your work surface with a drop cloth and set both plastic molds on top to check the fit. You want an even gap of about 1 to 1 1/2 inches all the way around so the bowl walls will be sturdy.
2. Lightly coat the inside of the larger mold and the outside of the smaller mold with cooking spray or a thin film of petroleum jelly. This little old shortcut makes unmolding much easier later on.
3. Put on gloves and mix the cement in a bucket with water, adding the water slowly until the texture is like thick pudding or mashed potatoes. If you’d like color or reinforcement, stir in the colorant or fibers now.
4. Scoop or pour cement into the larger mold until it is about halfway full. Tap the mold gently on the table a few times to bring air bubbles to the surface.
5. Press the smaller mold down into the center of the wet cement, keeping it as level as you can. Adjust it until the cement rises evenly around the sides and forms the bowl shape.
6. Place the small stones inside the inner mold to weigh it down so it does not float upward. Check again that the rim thickness looks even, then tap the sides gently to release more trapped air.
7. Leave the mold undisturbed to set for 24 hours, or according to your cement mix directions. If the weather is hot and dry, loosely cover it with plastic so it cures steadily and doesn’t dry too fast.
8. Remove the stones and gently twist the inner mold loose first. Then flex the outer plastic mold and ease the cement bowl out carefully onto a towel or piece of cardboard.
9. Smooth any rough spots on the rim and base with 120-grit sandpaper, then finish with 220-grit for a softer edge. Wipe away the dust with a dry cloth.
10. Let the bowl cure for another 2 to 5 days before putting it outdoors or sealing it. Once cured, use it as a planter, bird-friendly water bowl, candle holder on the patio, or a pretty catchall for pinecones and garden clippings.
Variations & Tips
For a mossy aged look: Brush plain yogurt onto the outside and leave the bowl in a shaded damp spot for a naturally weathered garden finish over time.
For drainage: If you plan to use the bowl as a planter, drill one small drainage hole in the bottom after the cement has fully cured, using a masonry bit and light pressure.
For extra charm: Press a few pebbles, bits of sea glass, or broken china carefully into the outer surface when the cement is partially set for a decorated bowl with memory in it.
For easier release: Plastic molds with flexible sides work much better than stiff brittle ones. I’ve found that a gentle twist loosens them better than pulling straight up.
For colder weather: Make these in a garage, shed, or covered porch if nighttime temperatures are low, since cement cures best when it stays above freezing.
For balanced bowls: Take a moment in the early setting stage to look at the rim from all sides. A small adjustment while the cement is wet saves a lot of sanding later.
For sealing: If your bowl will hold water regularly, apply an outdoor concrete sealer after full curing to help reduce moisture absorption and surface wear.