
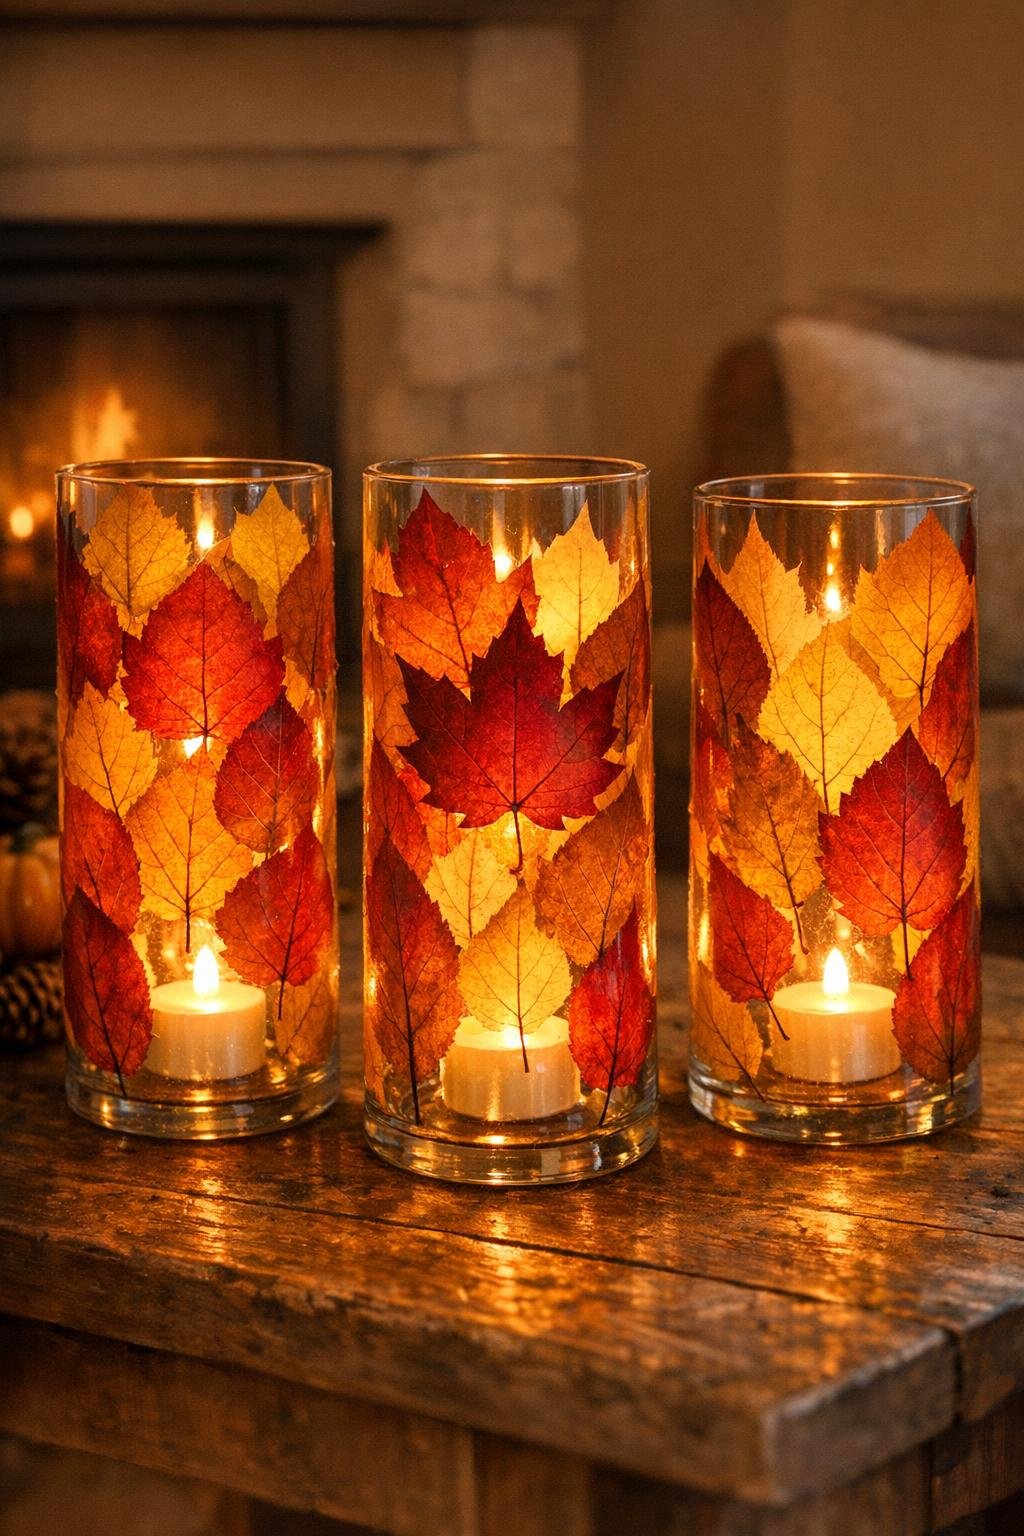
There is something about September that makes me want to cozy up every corner of my living room, and these rustic fall leaf luminaries do that with very little effort and a really pretty payoff. This project uses pressed autumn leaves decoupaged onto tall clear glass cylinder vases, then finished with warm white LED tea lights inside so the colors glow in the evening.
I love this kind of craft because it looks far more expensive than it is, and it fits beautifully into a busy weeknight. If you want a simple seasonal project that feels polished but still handmade, this is a great one for beginners, apartment decorators, or anyone who wants autumn décor without hauling out bins of store-bought pieces.
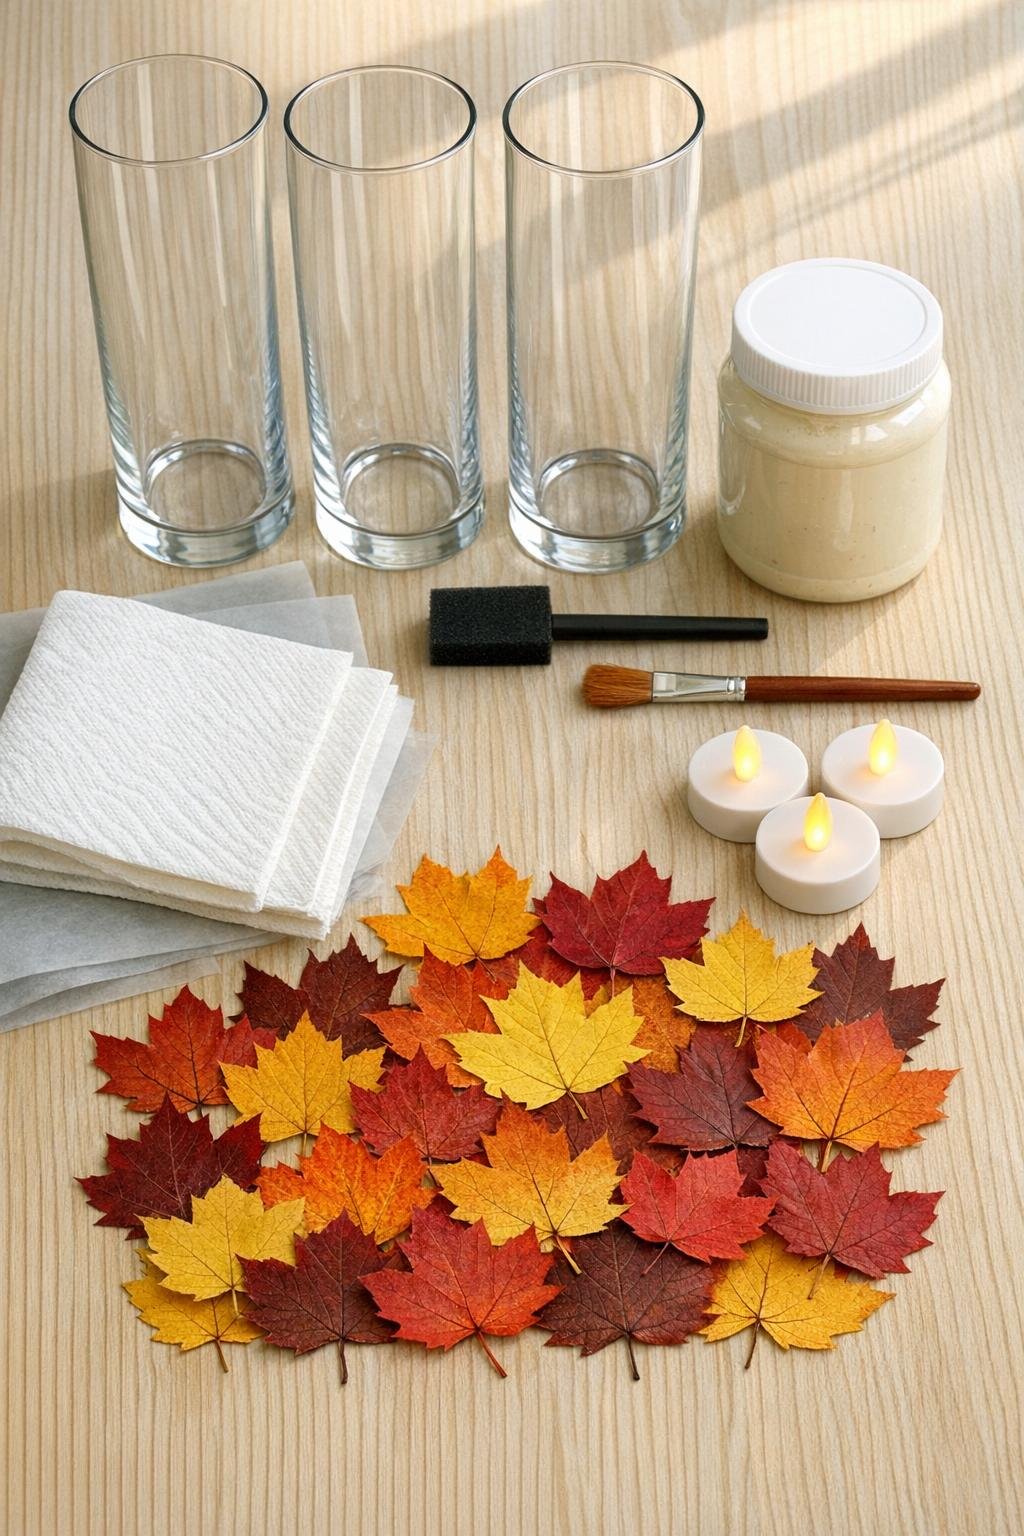
Materials
3 tall clear glass cylinder vases, 8 to 10 inches tall and 3 to 4 inches wide
Instructions
1. Clean each glass vase thoroughly with rubbing alcohol or glass cleaner, then wipe dry with a lint-free cloth so the leaves and decoupage medium will stick smoothly.
2. Sort your 30 pressed leaves by size and color, and loosely arrange about 10 leaves per vase before gluing so you can balance the reds, oranges, and yellows.
3. Brush a thin layer of decoupage medium onto a small section of the first vase, working in an area just large enough for one leaf at a time.
4. Press one leaf gently onto the glued area, smoothing from the center outward with the soft paintbrush so the edges lie flat without tearing.
5. Continue attaching leaves around the vase, slightly overlapping a few of them for a fuller rustic look while leaving some clear glass peeking through for extra glow.
6. Once all leaves are in place on the first vase, brush a very thin sealing coat of decoupage medium over the entire leaf surface, using light strokes to avoid lifting delicate edges.
7. Set the vase on wax paper and let it dry for 30 to 45 minutes, then repeat the same process for the remaining two vases.
8. Check for any curled leaf tips after drying, and dab a little extra decoupage medium under those spots before pressing them down and letting them dry again for 10 minutes.
9. If you want a little extra rustic detail, wrap jute twine around the top rim of each vase two or three times and tie a simple knot or bow.
10. Place one warm white LED tea light inside each vase and test the glow in a dim room, adjusting the vase position so the prettiest leaf side faces outward.
11. Group the luminaries together on a mantel, coffee table, or entry console, spacing them 2 to 4 inches apart for a layered fall display.
Variations & Tips
Use real pressed leaves carefully: The drier and flatter the leaves are, the easier they are to glue down without curling. I usually pick the most flexible-looking ones first and save the brittle leaves for smaller accent spots.
Try a more minimal look: If you prefer cleaner décor, use 6 to 8 leaves per vase instead of 10 and leave more of the glass exposed. The light shines through beautifully that way.
Stick with LED lights only: Because these luminaries use decoupage medium and dried leaves, battery-operated LED tea lights are the safest choice. I would not use real candles in this project.
Make it work with your room: For a more modern living room, choose mostly yellow and copper leaves and skip the twine. For a farmhouse look, add twine and set the vases on a wood tray with mini pumpkins.
Prep ahead for busy weeks: If I know I have a packed workweek, I press and sort the leaves ahead of time, then do the actual decoupaging in one evening. It is one of those satisfying projects that looks like you spent all weekend on it, even if you definitely did not.
Seal with a light hand: Too much decoupage medium can make the leaves look overly wet or wrinkled. Thin coats always give me the cleanest finish.